Filament Grinding: All Causes & Fixes Explained
At 3DSourced we’ve covered everything 3D printing and 3D since 2017. Our team has interviewed the most innovative 3D printing experts, tested and reviewed more than 20 of the most popular 3D printers and 3D scanners to give our honest recommendations, and written more than 500 3D printing guides over the last 5 years.
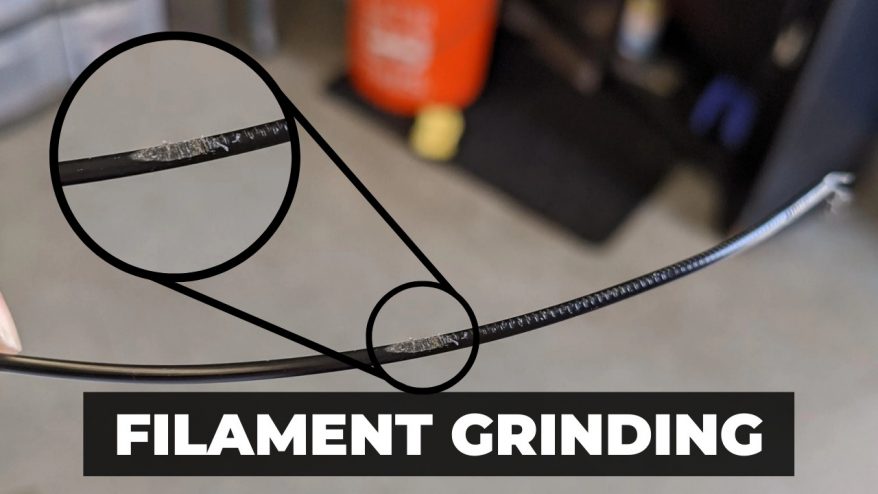
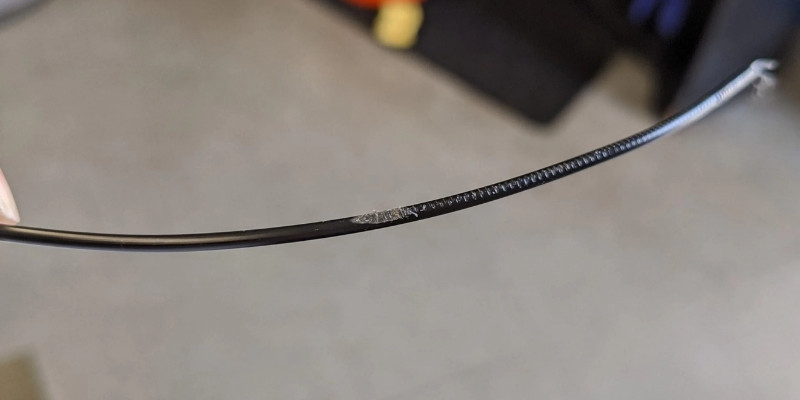
Filament grinding is a nuisance caused when the teeth of your extruder grind and shred the filament as it passes through.
Ideally, extrusion is a smooth process, but there are a few reasons why your filament may not pass through as easily as it should.
If you’re having an issue with your filament coming out of your extruder looking shredded and broken, check all the potential causes and solutions for filament grinding we’ll discuss today.

What Causes Filament Grinding and How To Fix It?
What is Filament Grinding?
Filament grinding is when the teeth in the gears of your extruder are pressed too hard against the filament, shaving off the material as it’s fed through. If your filament is in good condition but exits the extruder shredded, especially on one particular side, then your problem is likely filament grinding.

Filament grinding can be caused by filament issues, problems with your 3D printer, or inefficient slicer settings.
It’s worth noting that it could also be a combination of any of these issues, so be sure to check out each one to help you identify the issue, or issues, and fix them without too much fuss.
Filament Grinding Causes and Solutions
While the main cause of grinding is simply the filament being pressed too hard against the extruder gears, there are a few reasons why this could be happening. Fortunately, there are ways to fix it so you don’t waste any more filament or ruin any more prints.
Some solutions for filament grinding are more complicated than others, but each of our fixes here will solve the problem as quickly and efficiently as possible.
Clogged Nozzle
Clogged nozzles lead to a variety of problems like poor extrusion, overheating, and even structural damage to your 3D printer if left unchecked.
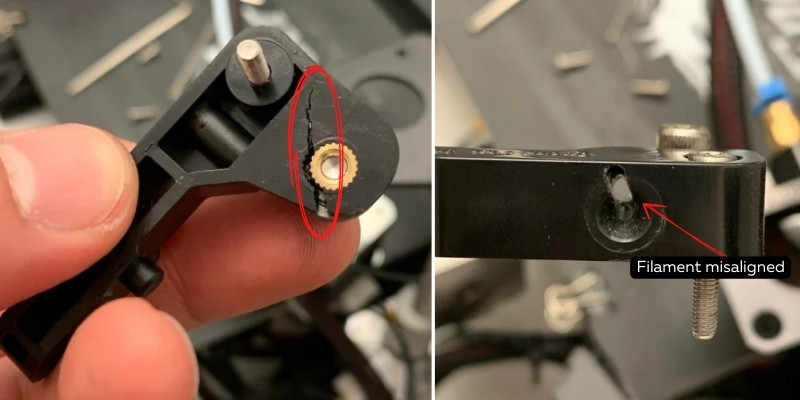
If your nozzle is clogged, then the filament passing through it will be pushed up against the edge, which will affect the alignment of the filament going into the extruder.
This, in turn, can lead to the filament grinding up against the gears of the extruder, which will shred it. Not only is this bad for your models, but the shredded filament will only make the clog worse over time.
If you notice your filament extruding slowly and unevenly along with it peeling as it’s extruded, then your problem is likely a clogged nozzle.
How to Fix
Cleaning out a nozzle is a fairly simple task. Once your 3D printer has cooled down, use a small, sharp device like an acupuncture needle to remove any excess filament stuck in it.
If the clog is relatively superficial, you can use a simple wire brush to remove material from the hot end and help resolve clogging issues.
You can also use cold pulling, which involves pulling cold filament through the extruder manually to ‘floss’ the leftover filament out.
For more information on how a clogged nozzle affects 3D printing, and more detailed explanations on how to clean it, you can check out our article on clogged nozzles here.
Printing Too Cold
If your extruder temperature is set too low for the filament you’re using, then the filament won’t heat up fast enough – and remains too solid as it passes through the extruder.
As it’s too thick during printing, it’s more likely to grind up against the extruder gears.
This is a common issue if you’ve recently changed to a higher temperature filament, but have forgotten to adjust your settings.
How to Fix
Simply increasing your extruder temperature in 5℃ increments is the easiest way to solve this issue. Once you find your ideal temperature settings, be sure to write them down for future reference.
Increasing the temperature slowly like this will help you find the sweet spot, and will help solve other problems caused by a too-cold extruder like poor bed adhesion and improperly stuck layers.
When in doubt, always check the recommended settings laid out by your filament manufacturer. If you’re already printing with the maximum suggested extruder settings, then the problem with your filament grinding in the extruder is likely from a different cause.
Printing Too Fast
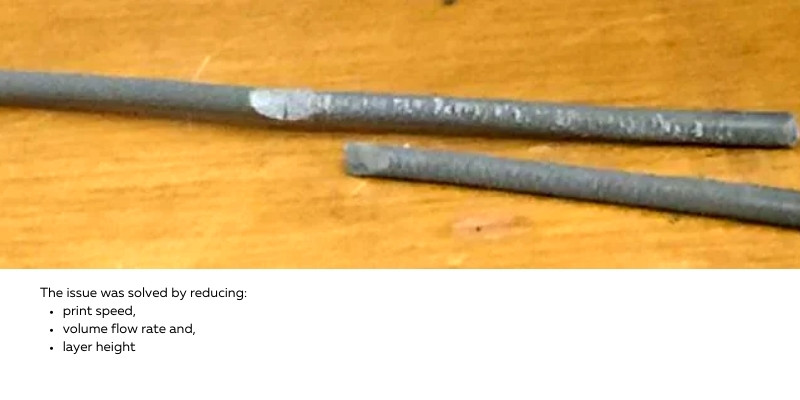
Printing too fast is another cause of quite a few 3D printer issues, with grinding filament being one of them.
If your print speed is set too high and other settings, mainly feed rate, haven’t been altered to compensate for it, then the filament will ‘bunch’ in the extruder, and grind against the gears.
How to Fix
Lowering your print speed in 10mm/s increments and monitoring the results is a good way to both check to see if this could be the cause for your filament grinding, and a good fix for it.
Like extruder temperature, it’s a good idea to double-check that your settings match those recommended by your manufacturer. If you’re on the higher end of the scale, then lowering the speed incrementally will help you find the best setting for your printer.
Wet or Damaged Filament
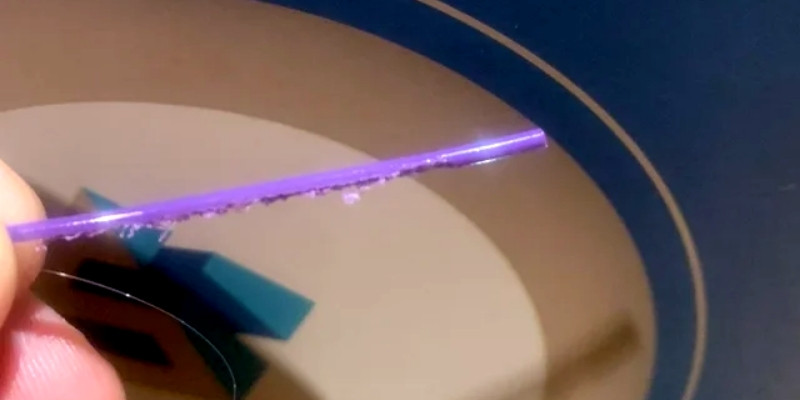
Most 3D printer filament is hygroscopic, meaning it absorbs airborne moisture over time. This not only increases the likelihood of warped and deformed prints, but also makes your filament thicker in ways often imperceptible to the naked eye.
If your filament is too thick due to airborne moisture, or has become worn, frayed, or damaged over time, then it won’t fit through the extruder as smoothly as it should and grind against the gears, causing grinding.
How to Fix
Unfortunately, if your filament is too old or has been overexposed to the elements, then it may be unsalvageable. So the best fix for this is prevention.
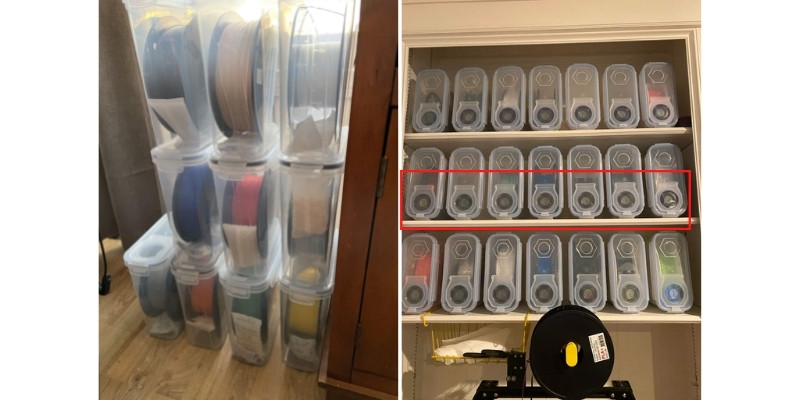
Storing your filaments properly is key to increasing their shelf life and making them more reliable and usable for longer. Most filaments do well in opaque, airtight boxes, or at least kept away from direct sunlight.
If the problem is moisture, you can use a filament dry box, an oven, or even a food dehydrator to get the moisture out and breathe new life into your filaments.
For more information, you can check out our article on proper filament care and storage here, or read more on:
Filament Not Stored Properly
Speaking of filament not being stored properly, it’s not just the elements you need to worry about.
Filament needs to be kept on its spool and handled with care to make sure it doesn’t tangle or not. Those of you who use wired earphones will know just how inevitable (and even inexplicable) such tangles are.
Tangled or knotted filament will bunch up in the extruder, causing it to grind against the gears and lead to problematic shredding and clogs if left unchecked.
How to Fix
The best fix for this problem is also a matter of prevention. Keeping your filament on its spool and ensuring it’s fed smoothly into the extruder will ensure it doesn’t grind and comes out as it should.
If your filament is already tangled, you can learn how to untangle it using our simple guide here.
Incorrect Nozzle Width
Some filaments are thicker than others as standard, and need a different extruder width to efficiently print. If your nozzle width isn’t thick enough for the filament, then it will create a bottlenecking effect and grind against the extruder gears.
While most filaments will print well with a standard 0.4mm nozzle, if you’ve started using a filament thicker than the usual 1.75mm, most likely 2.85mm, but haven’t changed your nozzle to compensate, then the filament won’t extrude efficiently and will grind against the extruder gears.
How to Fix
Double checking the ideal nozzle width for the filament you’re using and altering your hardware respectively is the key to avoiding this issue. This is a rare issue as most 3D printer nozzles and filaments come in standard sizes, but it’s worth double-checking the measurements if you’re unsure.
Retraction Issues
Retraction in 3D printing refers to the recoiling of filament back into the nozzle between layers to prevent unwanted drips and blobs during printing.
Most slicer software lets you control this retraction, so if you’re finding nozzle clogs and filament grinding happen frequently, your retraction may be set too aggressively.
An easy way to test this is to reduce the retraction settings drastically, say by around 50%, and see if the grinding stops.
We recommend cleaning out your nozzle before testing this, as it will remove the possibility that retraction has led to extraneous causes like clogging.
How to Fix
If you’ve performed this test after cleaning your nozzle and have found that grinding has stopped, you can begin to increase your retraction settings again until you find the ideal setting. You should lower both the retraction speed and frequency to find the root cause.
Once found, you should find that this setting both helps with layering and stops your filament grinding issues.
Nozzle Too Close to Heat Bed
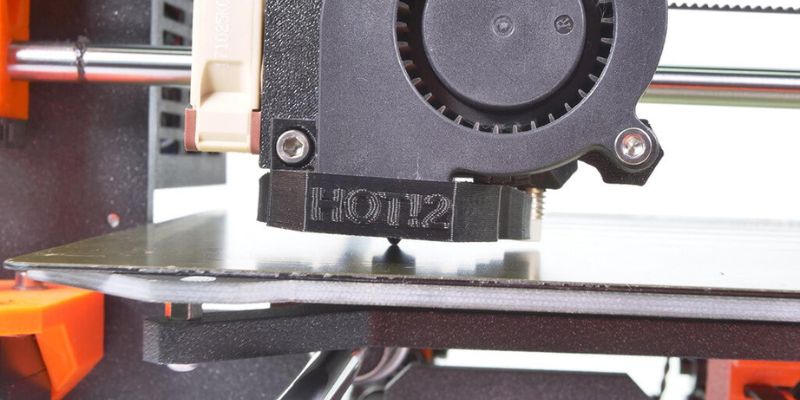
If your nozzle is set too close to the heat bed, then some of the filament intended to be extruded onto the model will instead stick to the incise of the extruder. This pushes the remaining filament aside and cause it to grind against the gears.
How to Fix
Simply altering your nozzle height to be slightly higher should help fix this issue. This can be done manually with a piece of paper, which should fit comfortably between the hot end and the build plate without leaving too much space.
If you’re still having issues, then increasing the nozzle height to 0.2mm instead of the oft-recommended 0.1mm will help make sure the filament is extruded into the model instead of back up into the nozzle.
Idler Tension Too High
Not all problems with filament grinding are related to the filament itself. Idler tension, otherwise known as extruder tension, is a commonly forgotten setting that involves the tension with which the extruder gears work.
If this tension is set too high, then it increases the risk of grinding and will damage your filament as it extrudes.
How to Fix
If your printer is equipped with apparatus to alter this tension, then simply lowering it will do the trick. Not all printers are capable of this, however, and if you find the tension is too high with no way of lowering it manually, then the best fix is to replace the gear with a smaller or softer one.
Be sure to check the compatibility of parts with your manufacturer before proceeding with such changes, however, as loading an incompatible gear will lead to under-extrusion issues.
Damaged Extruder Gear
Any moving part of any machine will wear over time, and gears in particular can become worn and damaged with constant use.
If your gear is worn then it won’t turn as efficiently as it should, and grind against both the filament and other parts of your 3D printer, leading to further damage.
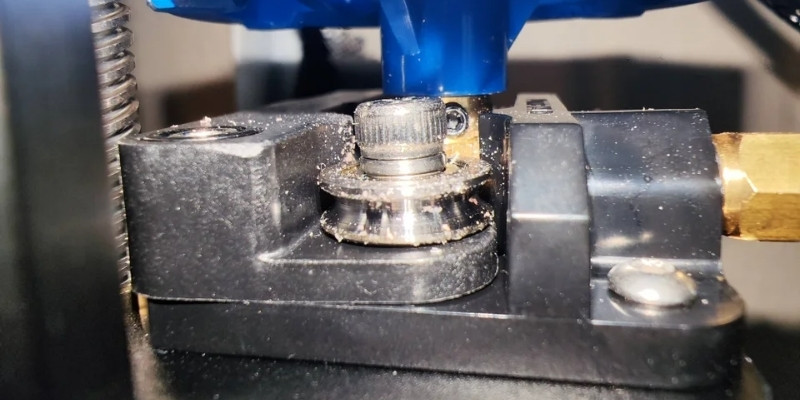
Similarly, if your gear is too dusty or has been overexposed to debris, then it will not leave a sufficient gap between the gear and your filament and will grind against the material as it extrudes.
How to Fix
If it’s simply a matter of dust or debris on and around the gear, then carefully cleaning it with a hard brush will help solve your filament grinding issue. Be very careful when doing this, as you don’t want to risk damaging the gear while cleaning it.
If the gear is worn or damaged, then you will need to seek out a suitable replacement. Referring to or contacting your manufacturer will help you decide which new part will work best for you.
Related posts:


