How to Untangle 3D Printer Filament Spool (Best Methods)
At 3DSourced we’ve covered everything 3D printing and 3D since 2017. Our team has interviewed the most innovative 3D printing experts, tested and reviewed more than 20 of the most popular 3D printers and 3D scanners to give our honest recommendations, and written more than 500 3D printing guides over the last 5 years.
The dreaded filament spool tangle can be a complete deal breaker to any print, and can seemingly strike at any time.
However, with the right knowledge and precautions, it is possible to prevent and deal with tangled filament spools without having to stop your print.
I’ll step you through the tricks I’ve learned to stop your spools from ever tangling in the first place – and how to intervene with confidence if you ever happen to get knotted up again!
What Causes Knotted Filament?
Contrary to popular belief a knot cannot be caused by poor or cross-winding when the filament was initially spooled. Stay with me here, but it’s actually impossible to spool filament up in a way that would cause it to wind. If you imagine taking a cotton thread and trying to wind it in a way that will cause a knot, it’s impossible.

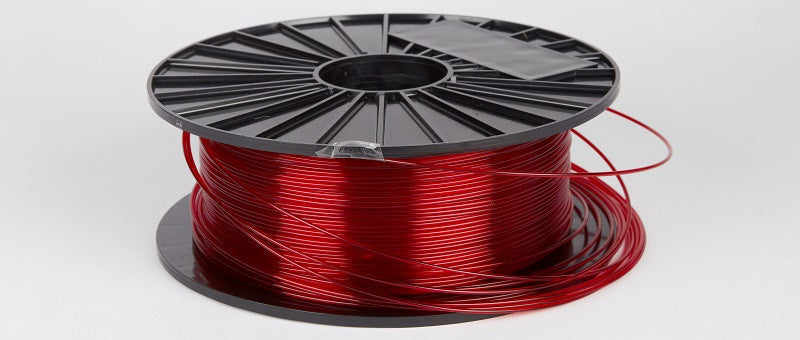
Don’t let the coils get slack, they’ll expand and shift sideways over one another, causing the tangle.
What actually happens to cause the knot is that at some point, the winding is allowed to become loose (either by user error, perhaps during shipping or even incorrect storage) and some rings of the filament expand and shift sideways over to a tightly coiled part of the filament.
When you then start to unspool the filament, it can tangle pretty quickly, or sometimes it may take a while into the print before the tangle takes hold, locking the spool. Perhaps the most unsettling thing is that once a spool has tangled, it’s hard to tell until it does lock up.
Prevention is Always the Best Cure
As it’s hard to tell when a spool is tangled, your best bet is simply to take the necessary precautions to make sure it never happens in the first place.
When you open a fresh spool from your supplier, check that the end of the filament is securely fastened to the spool. Either through the guide holes in the side of the spool, or for some more brittle materials it may be taped to the side to stop unravelling.
I don’t want to tell you how to suck eggs, but when you cut the end off the filament (either the bent filament from the holes, or the gummy part left from the tape) it’s really important you keep hold of it, and keep this in tension while you feed it into your printer. Don’t let any slack form at all – this will ensure it cannot unravel.
Also, some spool holders are very loose, which can allow the spool to spin faster than the printer needs, and therefore allow slack to travel down the spool. It’s important your spool holder doesn’t turn too freely.
Most spool holders are fine, but occasionally ones with bearings or very low rolling resistance can allow this to happen. If yours spins too freely, try to restrict it very slightly (so it won’t cause strain on your feeder mechanism) with a rubber bushing, or something that will cause only a small amount of friction.
Once you’ve finished with your filament for that print, make sure you store it correctly. Pull the filament tight around the spool so there’s no slack before reaffixing the filament in either the guide holes, or by using some filament clips (you can print them like this). This will make sure the filament doesn’t unspool a little while being stored.

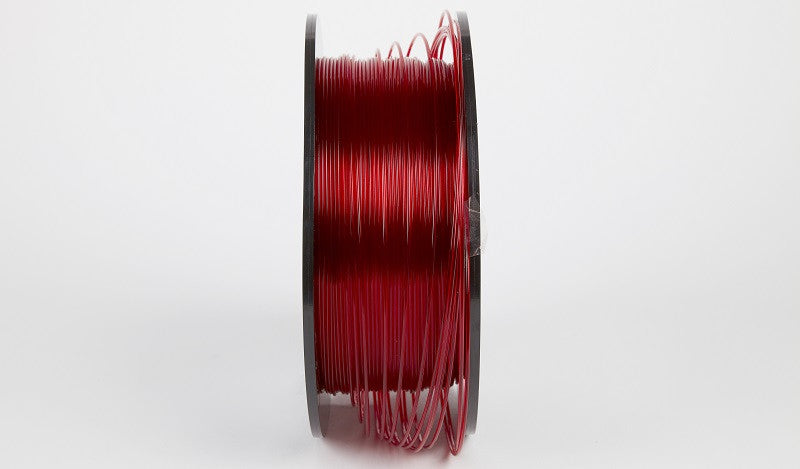
It’s also advisable to store your filament vertically where possible, and not flat on its side. This is because if there is any slack in the spool, storing it on its side will allow the rings to fall down and cause those knots in later prints. For the same reason, I also advise against using horizontal spool holders.
How to Untangle Filament Spool
It may seem like all is lost when you notice your spool has knotted during a print, although on some printers you can pause, unload and reload. However, a less intrusive way around this issue is to untangle while the printer is printing.
This is best done if there’s still enough filament between the spool and the feeder entrance to your printer. First, unmount the spool and move it closer to the feeder entrance, giving you some slack to play with. You can then pull the slack back through the knot to create a big enough loop to feed the spool through. It’s the same principle as if you’d stopped the print and taken the end of the filament out, except you’re treating the spool as the ‘free end’.
Once untangled, simply place it back on the spool holder and ensure that it’s not moving too freely to cause it to happen again.
Often, tiny oversights can have big impacts. I hope this quick guide has given you the knowledge you need to ensure you never get a ‘crosswound’ spool again. If you found this useful to your printing, please share it so others don’t get filament jams from tangled spools.
Related articles:


