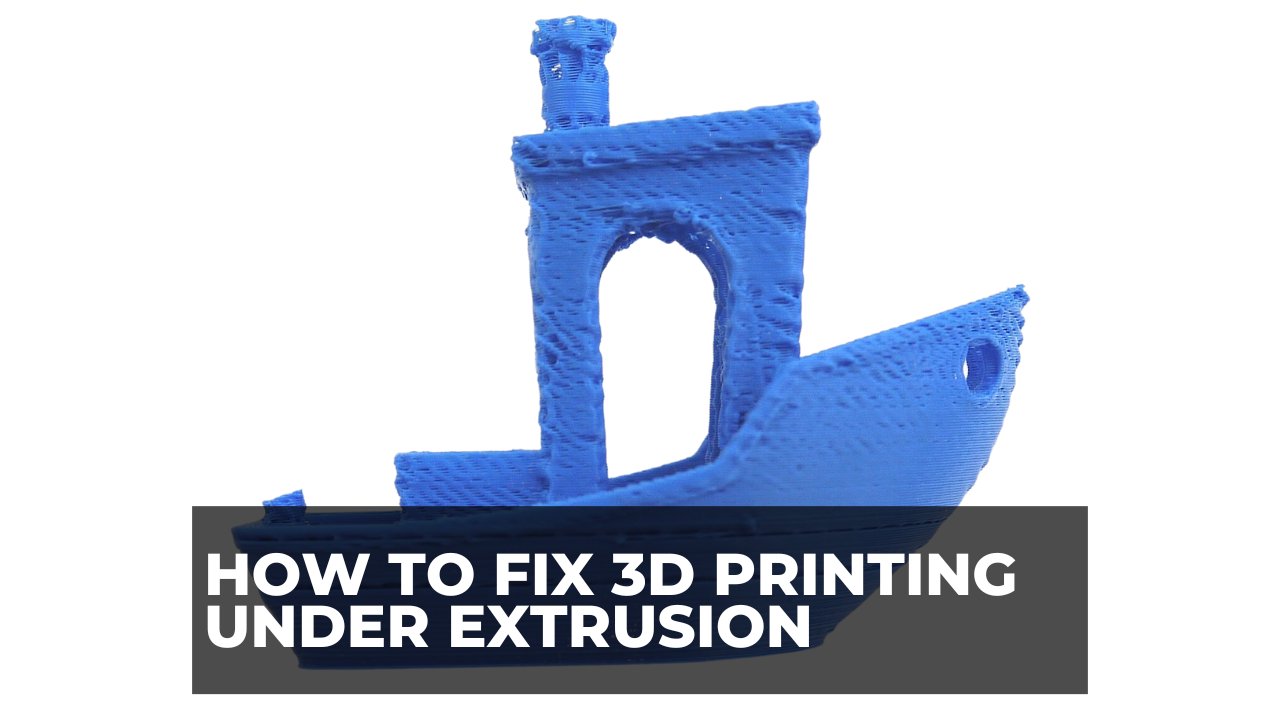
How to Fix 3D Printing Under Extrusion (& What Causes It)
At 3DSourced we’ve covered everything 3D printing and 3D since 2017. Our team has interviewed the most innovative 3D printing experts, tested and reviewed more than 20 of the most popular 3D printers and 3D scanners to give our honest recommendations, and written more than 500 3D printing guides over the last 5 years.
Most 3D printers have been a victim of under extrusion at some point.
Your print job seems to be running smoothly at first, but sometime later you come back to see that something has obviously gone very wrong.
There are missing print layers, thin printed layers, or even layers that have gaps and holes. Your print has turned out… spongy?
These are the effects of under extrusion!

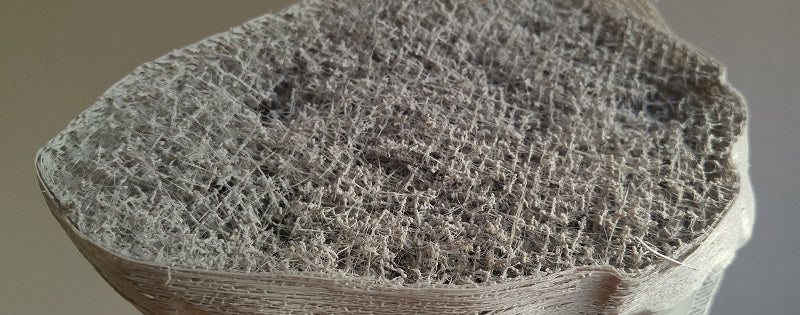
Under extrusion occurs when your printer is unable to supply the correct amount of material needed to correctly print a layer. There are various reasons why under extrusion occurs, which can make it a tricky issue to diagnose.
In many cases, you can solve the problem in short order simply by knowing what to look for. In this article, we’re going to examine some of the common causes of under extrusion, and give you a quick fix for each.
Most Common Causes of Under Extrusion
Why is My 3D Printer Under Extruding?
The most common cause of under-extrusion is printing at temperatures that are either too high or too low for your material. If material is being printed at too low a temperature, it does not melt evenly. The thermoplastic being used becomes thick and viscous. It takes more force to extrude and the flow of the material is uneven as a result.
Likewise, if the material is being printed at a temperature that is too hot, it can begin to fuse or bind to the inside of the hot end. This causes a partial blockage of the nozzle, and under extrusion is the result.
Sometimes, PLA or PVA filaments if printed too hot can burn or crystalize in the nozzle, blocking it.
Check to be sure you are printing within the recommended temperature parameters for the material you are using. That being said, it should be noted that it’s common for thermistors and heated thermostats to be somewhat inaccurate.
So, if you are printing at the correct temperature and you’re still having problems, it’s not a bad idea to try slightly raising or lowering the temperature that’s displayed to see if that clears up the under-extrusion issues.
Often, it can just all be about finding the right temperature for your filament, with your printer. Let’s look at how to fix under extrusion.
Mechanical Issues
Your printing material passes through the feeder, the bowden tube, and the extruder on its way to becoming a printed object. A malfunction at any one of these points can cause insufficient material to be available for printing when it is needed. The result is under extrusion.
So, if you’re experiencing under extrusion while printing, it’s a good idea to take a look at all of these areas to see if one of them is causing your problem.
Feeder Problems
The feeder is so named because it feeds the print material into the extruder. Therefore, a malfunctioning or misadjusted feeder will cause the print material to be sent to the extruder in a non-uniform manner. This, in turn, will result in uneven extrusion during the printing process.
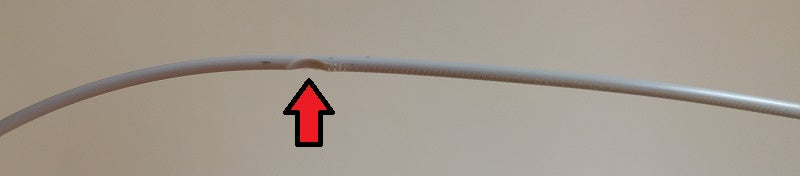
One of the first things to look at is the feeder tension settings. If the tension settings are too low, the knurled wheel inside the feeder that grabs the material and moves it towards the print head can’t get enough purchase to steadily move the material.
On the other hand, if the tension is too high, the feeder will grab the material with too much force, causing it to deform. This flattening makes it harder to move the material through the bowden tube and the print head, which causes insufficient material to be available for printing when needed.
Furthermore, high tension can cause the feeder to grind away at the material, causing more deformation and even slower movement.
After you’ve checked your tension settings, make sure that there isn’t a loose or intermittent power connection to the feed motor. A bad connection can cause the motor to run irregularly, slowing the feed to the print head.
This can often be the cause of a clicking or knocking sound when printing – some printer manufacturers are prone to this fault because the cables they use won’t drive the motors reliably enough.
Also, make sure that the knurled wheel isn’t slipping on the feeder motor shaft by tightening the key or grub that holds the wheel to the shaft. This is another common design fault with other manufacturers of printers. You can minimize this if you have one of these machines by upgrading it.
If your tension and feeder mechanics are ok, but you’re still experiencing problems, the issue could be due to increased friction in the bowden tube or a partial blockage in the print head.
Bear in mind, if you’re having under extrusion problems with flexible filaments – the filament could be bunching up between the feeder and the hot end (think ‘pushing string’) – so you might find that your filament isn’t compatible with your feeder. On a side note, we do slightly stiffer flexible filaments that work in a larger variety of stock hot-ends.
Bowden Tube Problems
Once your material leaves the feeder, it enters the bowden tube which guides the material to the print head. If your feeder tension was too high and your material was being ground up, dust from that grinding can collect in the bowden tube causing friction when the print material passes through.
This friction can cause the material to slow in the tube which results in under extrusion. You can solve this problem by regularly cleaning the bowden tube to remove any buildup of dust.
Print End Problems
Another common cause of under extrusion is a partial blockage of the print end nozzle. There are various reasons why this type of blockage occurs. There could be a buildup of carbon or carbonized material in the nozzle.
Alternatively, if you’ve previously used a high-temperature printing material and now are using a lower temperature material there could be unflushed residue of the higher temperature material that’s remained in the nozzle.
Another possibility is that there is a debris particle or particles blocking the nozzle. This is especially common when using a smaller nozzle head with a diameter of 2mm or below. Finally, you may simply be using a poor-quality printing material that isn’t melting evenly and consistently and clogging the nozzle.
Luckily, there are a couple of relatively easy fixes that can take care of a partially blocked print end nozzle.
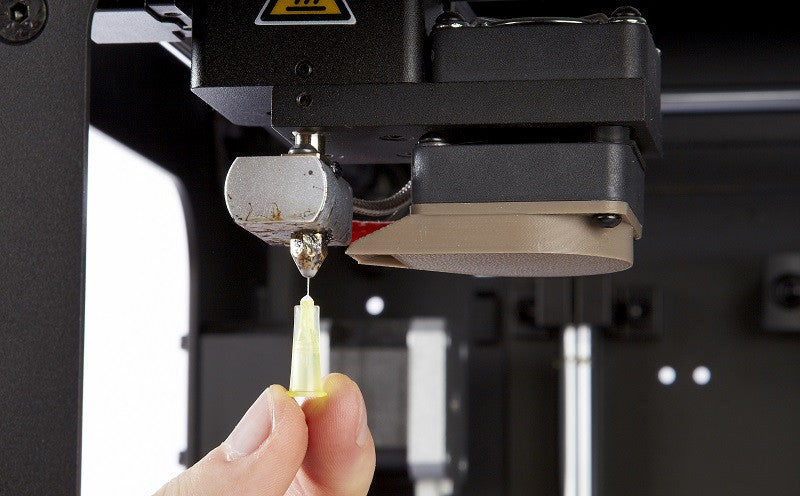
The first method requires you to first reverse feed all the print material out of the print head. Once this is done, heat up the head to about 260°C. Then take a long thin needle that is the same size, or slightly smaller than your nozzle diameter (surgical or acupuncture needles work well) and insert it into the nozzle, taking care not to burn your hands.
Simply move the needle in and out of the nozzle several times to make sure that the blockage has been thoroughly cleared.
The Atomic Method: How to Fix Under Extrusion Problems
The next fix has been nicknamed the “atomic” method because it uses print material to clean out carbonized gunk and other built-up debris from the top end down. The key to successful atomic cleaning is to use the material that you last printed with as the material you use for the cleaning.
This is a very effective trick if you’ve got particles or carbon build up behind the actual nozzle hole, as it pulls it out from the back.
Step 1 — The first step is to once again reverse the print material out of the print head. Next, remove the clamp that holds the bowden tube to the print head and gently pull the tube from the head.
Step 2 — Next, heat the print head to the temperature of the material that you last used. While the head is heating, cut about 20cc of the print material from the spool. Use a straight cut and try to straighten the material as much as possible.
Step 3 — Now, take the cut piece of material and insert it all the way down into the print head. Apply a bit of pressure until the material begins to extrude from the nozzle or can’t be inserted further. Lower the print head temperature down to about 145°C for Nylon or other higher temperature materials, 110°C for ABS, and 90°C for PLA.
Wait for the print head to cool to the desired temperature and then quickly and cleanly jerk the print material out of the print head. The goal is to have a clean tip when you remove the material from the head. Repeat the process as necessary until the tip of the removed material is clean.
We cover more in-depth cleaning and unblocking methods in this article. Hopefully this guide has shed a bit more light on the “Why is my printer under extruding” question that may have brought you here. These tips should allow you to diagnose the issue that you’re having, so you can get fixed up and back on track in no time.
Related articles:


