Here Are The Best Ender 3 S1 Upgrades (With Links)
At 3DSourced we’ve covered everything 3D printing and 3D since 2017. Our team has interviewed the most innovative 3D printing experts, tested and reviewed more than 20 of the most popular 3D printers and 3D scanners to give our honest recommendations, and written more than 500 3D printing guides over the last 5 years.
Since its launch, the Ender 3 has been one of the most upgrade-friendly FDM printers, and that tradition continues with the Ender 3 S1 (and S1 Pro).
That’s not to say the Ender 3 S1 isn’t already a great machine. On the contrary, Creality has made some excellent upgrades on the S1: namely a direct drive extruder, automatic bed leveling, and a refreshed overall design, but it can still benefit from upgrades.
Whether you own an Ender 3 S1 and fancy leveling up its printing potential, or are weighing up the merits of buying one, this guide has you covered with a dive into the best upgrades for Ender 3 S1.
Is the Ender 3 S1 a Good Choice for Upgrades?
Yes, the Ender 3 S1, like the previous Ender 3 printers, is very versatile. It keeps to the standard gantry style FDM construction we know and love, which means an open design, leaving plenty of space for upgrades.

Like other Creality printers, it’s mostly open source, and taps into the DIY ethos that defined the early days of consumer-level 3D printing.
But, where the Ender 3 S1 differs from the original Ender 3 and even the more recent Ender 3 V2, is that it’s already well-equipped for tougher print jobs – even without any upgrades.
Creality balance out-of-the-box usability and functionality, while still allowing plenty of scope for upgrades, knowing that the community would want to make a great printer even better.
In a sense, the Ender 3 S1 is a refinement of all the community’s upgrades for the original Ender 3, which Creality wisely caught on to and integrated.
Another aspect that makes the Ender 3 S1 so popular is the range of upgrades available. So many of the original Ender 3 upgrades are also compatible with the Ender 3 S1, meaning there’s years of upgrades out there for you to choose from.
Whether it’s the heated bed, the print head, the filament sensor, cabling, or adding convenience-based upgrades like LED lights or a webcam, you’ll find every flavor of upgrade out there without having to dig too deep at all.
Additionally, because of what a good printer it is when it leaves the factory, the Ender 3 S1 has sold well, leading to a thriving community working hard to share and propagate upgrades to help other users improve their machine.
Best Ender 3 S1 Upgrades
Though there are hundreds of potential upgrades out there, we’ve hand-picked our selection of the best ones out there.
Fan Duct Upgrade
- Parts Required: 3D printed fan duct and a set of screws
- Cost: No more than $5.00 in filament and screws
- Manufacturer: N/A
- What It Upgrades: Improves filament cooling as it leaves the hot end
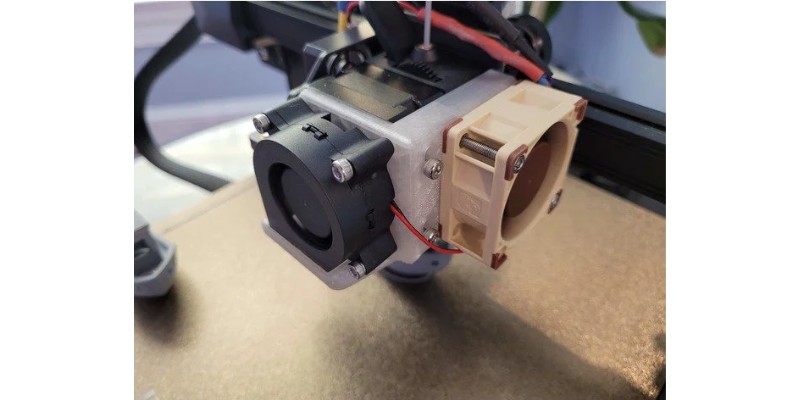
While the existing fan duct on the Ender 3 S1 is by no means shabby, the printing process can always benefit from some beefed-up cooling.
This upgrade fastens a chunkier fan duct to the printer, channeling more air to the filament as it’s extruded to offer more streamlined airflow, improving overall quality and speeding up the bonding process for tougher, more durable prints.
As upgrades go, a new fan duct costs next to nothing because you can print the part yourself and only need to buy a few screws to attach it to the print head.
Better yet, it’s compatible with both the Ender 3 S1 and Ender S1 Pro. Installation is fairly straightforward, latching onto the Ender 3 S1 print head assembly and doesn’t involve any modifications.
PEI Flexible Build Surface Upgrade
- Parts Required: PEI flexible build plate
- Cost: Check latest price at Amazon here
- Manufacturer: Creality
- What It Upgrades: Better high-temperature filament adhesion and easier print removal
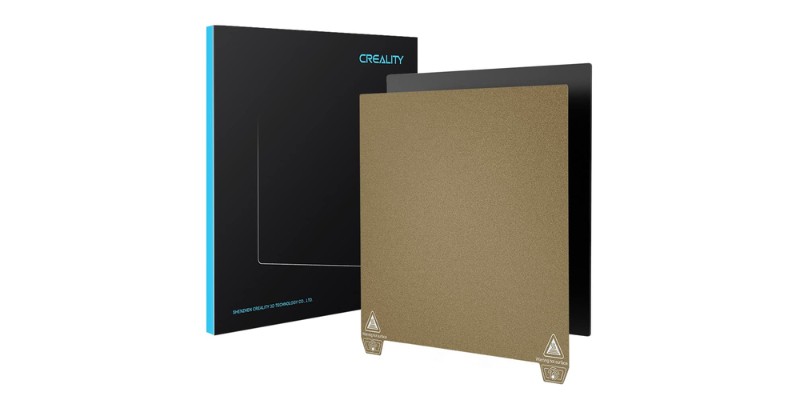
The stock PC flexible build surface that ships with the Ender 3 S1 is adequate, but installing a PEI flexible plate can improve performance when working with more temperature-sensitive and demanding filaments.
It also improves adhesion thanks to its rough texture, while the flexible characteristic makes removing prints effortless, with a simple flex popping off the finished print.
Creality offers its very own PEI flexible build surface over on the Creality Store, but you can get a third-party version for about half the price without much difference in quality, if you prefer.
Though, check you’re getting the right size for your Ender 3 S1 or Pro. As upgrades go, installation is by far the easiest: simply remove the existing plate, and snap on the new PEI replacement using the bed’s magnetic surface.
Webcam Upgrade
- Parts Required: Webcam
- Cost: $50 – $300
- Manufacturer: Various
- What It Upgrades: Remote print monitoring and recording
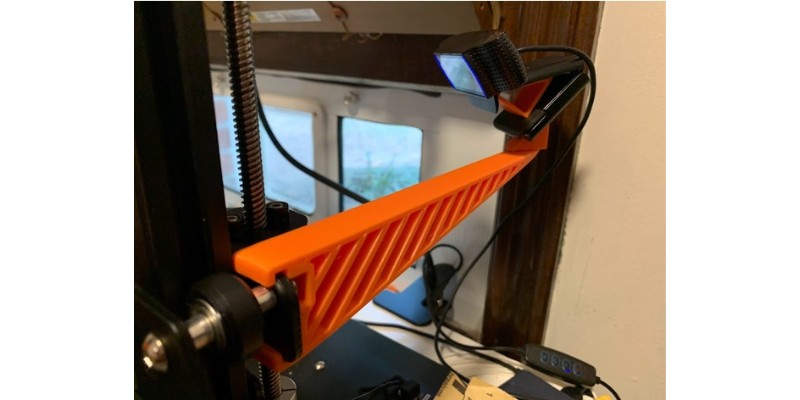
A webcam upgrade allows you to monitor prints remotely – great if you’re worried about errors ruining a 12-hour print.
You can also capture video, time-lapses, and stills to share on forums, YouTube, and with other maker friends. While it’s by no means a necessary upgrade, a webcam is a nice luxury to have for more serious makers who lean on programs like Octoprint to control and monitor their printing setup.
As for what webcams, there are countless options out there, with a variety of potential picks covering all resolutions, frame rate, focus-types, and so on.
We’ve written a dedicated article about the best webcams for 3D printing for details, but for us, the Logitech C920 and Raspberry Pi camera module V1 are two of the best to pair with the Ender 3 S1 and Ender 3 S1 Pro.
If your budget allows it, aim for 1080p and 30 FPS, along with a webcam that comes with a mount.
Bed Handle
- Parts Required: 3D-printed bed handle
- Cost: A few dollars of filament
- Manufacturer: N/A
- What It Upgrades: Easier and safer bed movement
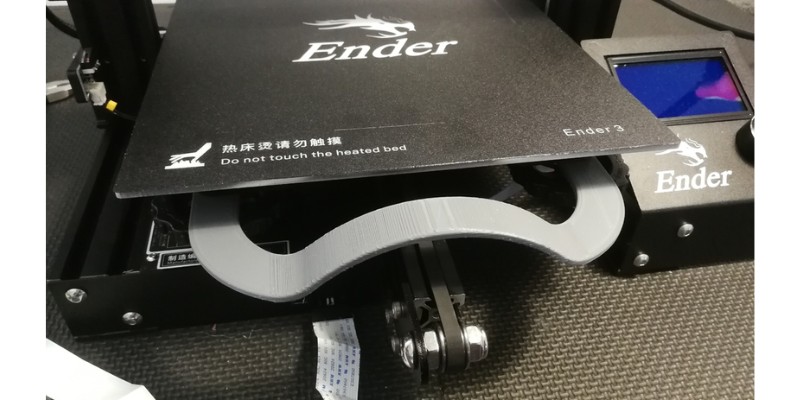
A bed handle upgrade is about pure convenience and makes interacting with the bed much safer when it’s heated up to printing temperature.
You can 3D print this upgrade rather than buying, and then fix it to the bottom of the bed via the existing knobs, so there’s no need for any additional hardware. Your only cost is the filament, making this a cost-effective option.
It’s by no means strictly necessary and doesn’t improve the printing performance of the Ender 3 S1 and Ender S1 Pro, but the curved design does make pulling the bed out at the end of the print to remove a model a lot more straightforward.
All-Metal Heat Break
- Parts Required: Creality All-Metal Hot End Kit
- Cost: Check latest price at Amazon here
- Manufacturer: Creality
- What It Upgrades: Print at a higher temperature
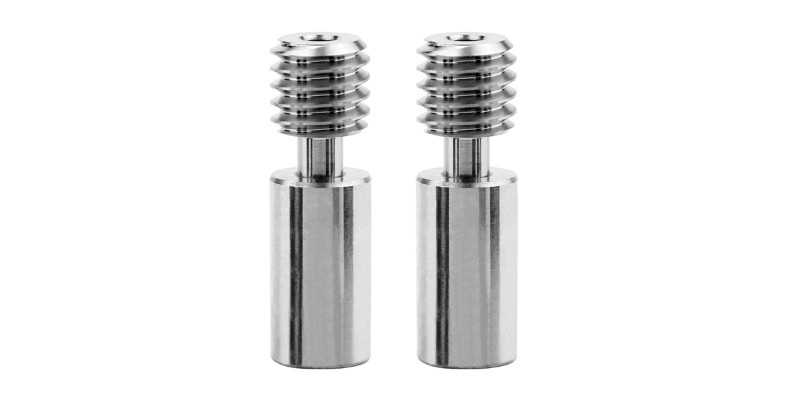
The hot end on the stock Ender 3 S1 is capable, and fares well with filaments like PLA and ABS, but is lined with a PTFE tube that can degrade over time at temperatures exceeding 250°C.
This degradation not only affects the structural integrity of the tubing, affecting printing performance – but also releases toxic fumes.
By upgrading to an all-metal hot end, you remove these potential issues, opening the door for printing at higher temperatures, and therefore more filament options. For convenience and guaranteed compatibility with the Ender 3 S1, we recommend Creality’s All-Metal Hot End Kit.
There are some downsides here, though, namely that all-metal hot ends require more retraction tweaking as filament tends to attach to the heat break cavity if retracted too far.
Another potential issue linked to this is clogging caused by heat creep. The filament may melt earlier than required, causing it to solidify in the heat break and clog the pathway. To counteract this, you’ll need to dial in cooling along with the right Ender 3 retraction settings.
Note: the Ender 3 S1 Pro already houses an all-metal hot end, courtesy of its Sprite Extruder Pro extruder/print head.
Improved Heated Bed Insulation
- Parts Required: Sheet of insulation
- Cost: Check latest price at Amazon here
- Manufacturer: Any brand
- What It Upgrades: Less power consumption and improve heated bed temperature stability
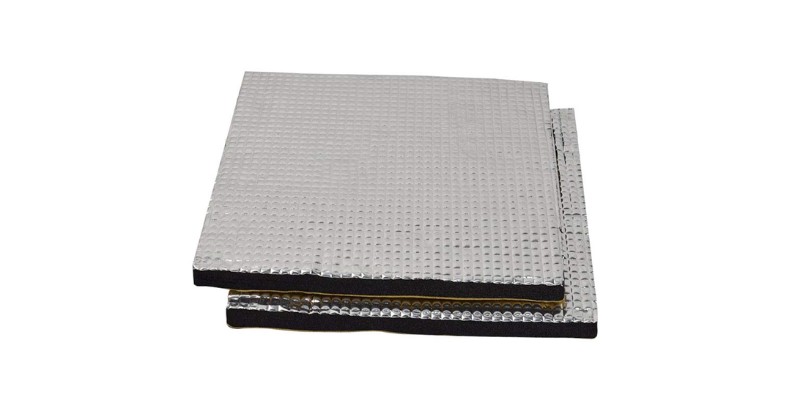
Again, the stock Ender 3 S1 heated bed is perfectly fine, but lacks some efficiency as it has no insulation material to maintain temperatures, requiring more power to get up to temperature and keep it toasty enough during the printing process.
All you’ll need is a sheet of insulation (cotton is a popular option) specifically designed for heated beds, which then sticks to the bottom of the build surface.
Most of the sheets come with an adhesive side, making installation extremely easy and straightforward. Just make sure you buy a sheet that matches the dimensions of the Ender 3 S1 – 220 x 220 mm.
Note: the Ender 3 S1 Pro already has bed insulation, so this upgrade isn’t needed.
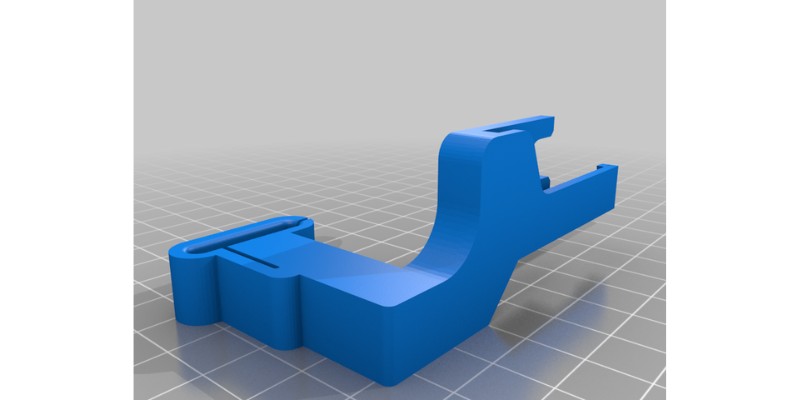
Better Cable Management
- Parts Required: 3D-printed holder
- Cost: $2 – $5
- Manufacturer: N/A
- What It Upgrades: Keeps cables in good condition for longer
The Ender 3 S1 is a tidy printer as is, but there’s still room for improvement when it comes to cable management.
The biggest culprit is the chunky ribbon cable that runs from the print to the printer mainboard case.
While the rugged exterior of the cable housing does well to cut down on fraying, using a 3D-printed part to keep it out of the way of jagged parts as it moves with the printhead can help keep it in top condition for longer.
The cable for the stepper motor mounted on the frame and the X-axis endstop cable are also susceptible here, so it’s worth tidying things up.
We’re fans of this holder on Thingiverse as it’s neat, easier to print, mounts directly to the frame, and has housings for all these cables, making it an efficient solution. It’s also cheap, costing nothing more than the filament required to print it.
LED Lights
- Parts Required: Creality Ender 3 S1 LED Light Bar Kit or LED light strips
- Cost: $10-$25
- Manufacturer: Creality and others
- What It Upgrades: Style points and better view of printer for monitoring, videos, time-lapses
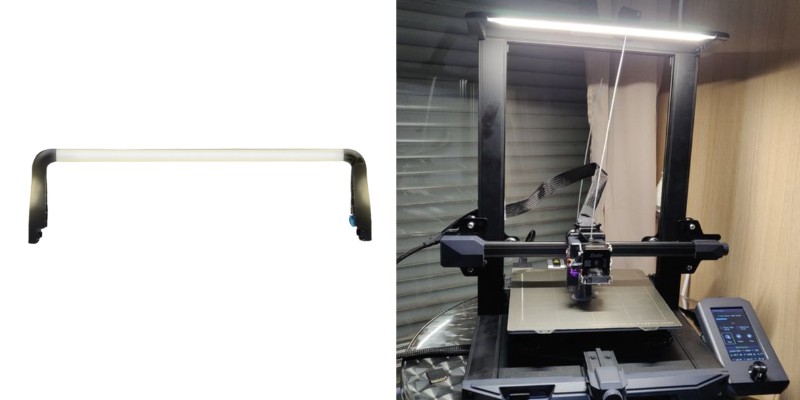
An LED light upgrade can be useful if you’re working in low-light conditions or want better lighting for monitoring, video, or time-lapse recordings.
It’s by no means necessary and doesn’t improve performance, but does add valuable style points to the overall look of your Ender 3 S1 or Ender 3 S1 Pro.
There are two main options. The first is to install Creality’s LED Light Bar Kit, designed specifically for the Ender 3 S1 and Ender 3 S1 Pro. It’s designed to fit into the frame of the Ender 3 S1, so is easy to set up and shines light directly over the build surface.
The second option is to attach light strips vertically to the frame. These come with adhesive sides, so are very easy to install and cost no more than $10. They are typically powered by USB, allowing you to plug them directly into the printer for power.
Why Upgrade the Ender 3 S1?
Though the Ender 3 S1 is vastly improved over the original Ender 3, no printer is perfect.
Useful upgrades for the Ender 3 S1 include improved cable management, drawer inserts, and bed handles for example, which makes using the printer that much more enjoyable.
Elsewhere, there are upgrades that improve the Ender 3 S1’s performance, such as switching to an all-metal heat break to mitigate the natural degradation of the PTFE lining of the factory heat break, especially if you’re dabbling with tougher filaments.
Similarly, switching to a different build plate, notably a flexible PEI variant, can improve bed adhesion and make print removal much easier.
Lastly, there are functionality upgrades to turn the printer into a fully decked-out setup. We’re talking webcams for print monitoring, OctoPrint integration for remote control and monitoring, and even LED lights to jazz up the printer’s overall look and shine a light on its hard work as the print head whizzes back and forth during the printing process.
These aren’t essential, but are increasingly popular among more serious makers who make heavy use of their Ender 3 S1.


