I’d heard of Sovol printers being a budget version of Creality Enders for a while now, so I was excited to try out the Sovol SV01 Pro, having already owned a Creality CR-10.
Creality are the best-selling low-cost printers, and I’m typically the kind of person that opts for the name brand.
However, I’m happy to re-evaluate that stance based on the amazing performance of the Sovol SV01 Pro. It’s such a great 3D printer for just over $300.
Read my entire review below, but spoiler alert, I absolutely love this printer. In fact, I haven’t turned my CR-10 on since I got the Sovol.

CR-Touch auto-leveling
Very accurate and precise print results
Direct drive extruder
Flexible magnetic build plate for easy print removal
Great value for money (just over $300 price)
Cons
Loud fan noise when printing
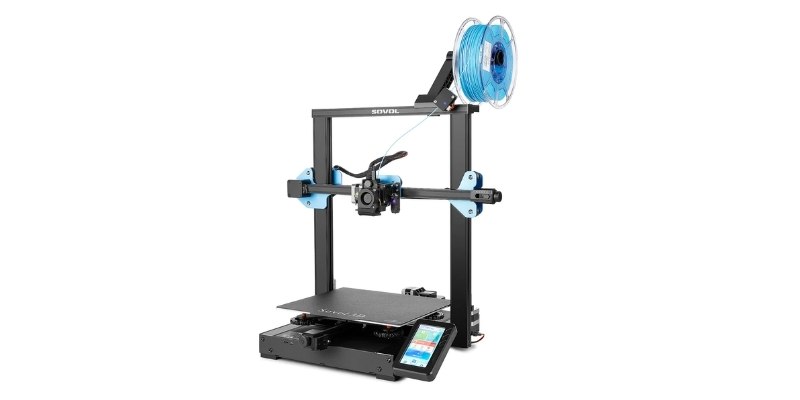
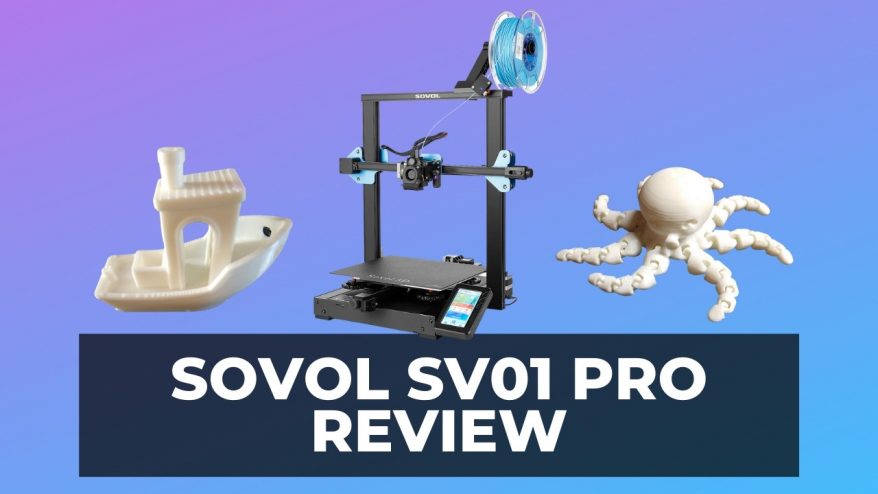
Sovol SV01 Pro
Available at:
Unboxing and Assembly
We have previously tested and reviewed the Sovol SV04, the sub-$1K dual extrusion printer, so we knew from experience that Sovol make some great 3D printers.
The printer was packaged very well. The exterior of the box had sustained a little damage in transit, but nothing inside was so much as scratched.
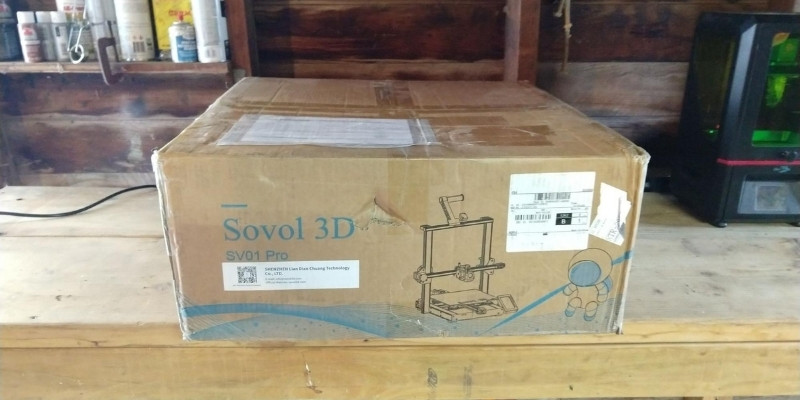
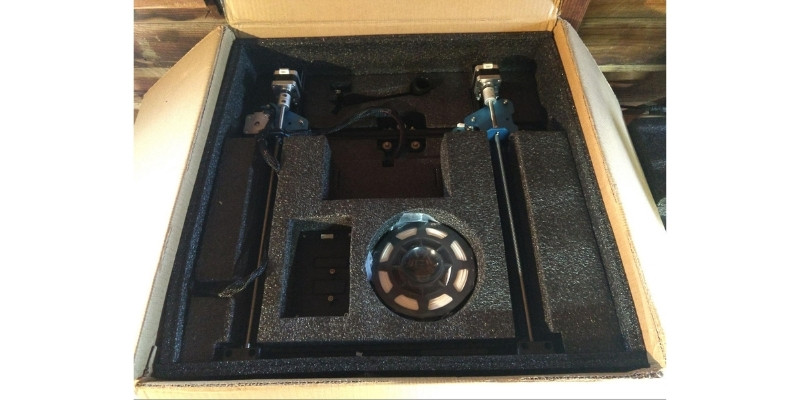
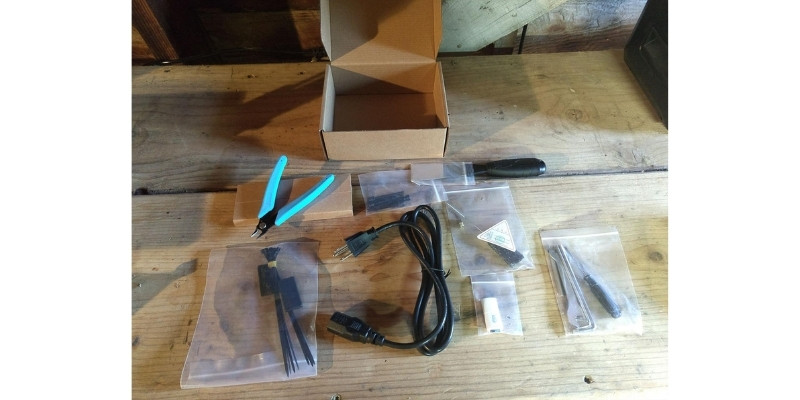
It came with the industry standard accouterments. An SD card and USB dongle. Some nondescript filament. And of course a set of side snips. When I took them out of the box I remember thinking, “How many of these things do I own at this point?” And then, I swear to you, I have not seen them since.
Side snips are to 3D printers as socks are to dryers.
It took me about 30 minutes to go from opening the box to printing my first test part. There were a couple of minor frustrations that I’ll go over.
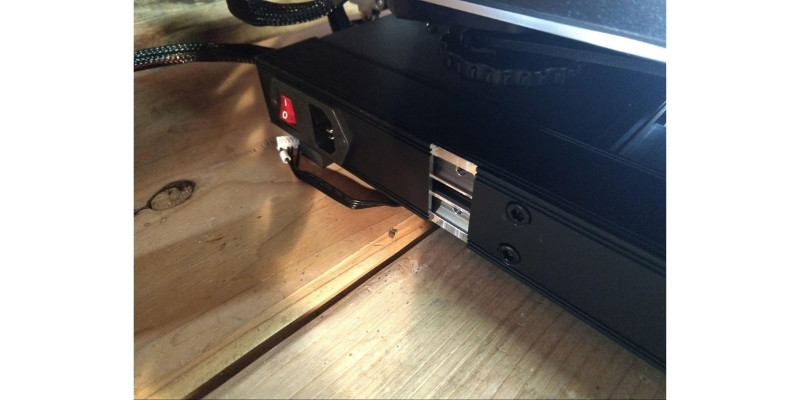
There is a machined edge at the bottom of the gantry. It lines up with the mounting slot and holes on the side of the printer.
Pictured here.
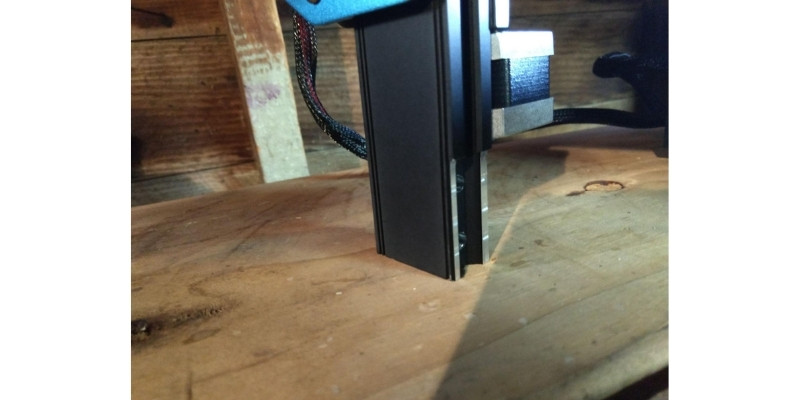
And here.
You have to line up the two legs of the gantry. This wouldn’t be a problem except that the distance between the legs on the printer I tested was slightly under the size of the body. So I had to both line up and stretch apart the gantry to get it to slide into position. It only took a couple of minutes but I was worried the whole time that I was going to drop it.
If I were to do it over again I would ask for help. An extra set of hands would have made a world of difference.
Another thing to note. There are two lead screws that control the Z-axis on either side of the gantry.
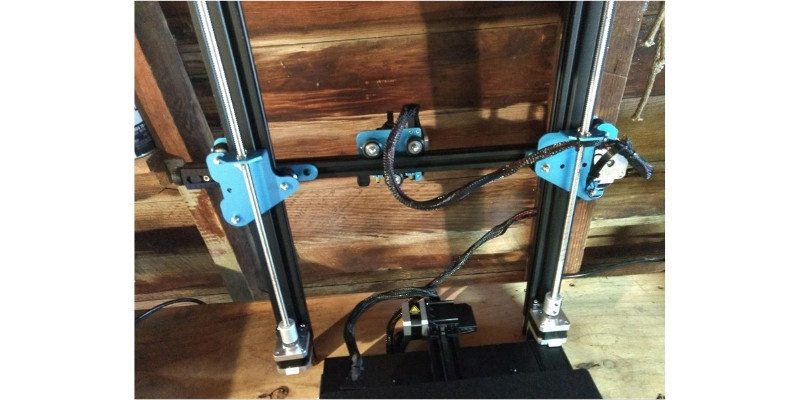
It’s possible to turn one of these by hand and throw the gantry out of level. Then you have to re-level the screw and you can end up chasing the level up and down. (Don’t ask how I know this.)
It’s a bit of a hassle so don’t mess with the screws before you even put the thing together.
The only other minor issue I ran into actually led to my first print failure so I will touch on that as well
The Sovol SV01 Pro comes with a filament sensor. I’ll talk more later about what a filament sensor does but for now, let’s focus on assembly. It’s the small box located on the top of the gantry in-line with the filament holder.
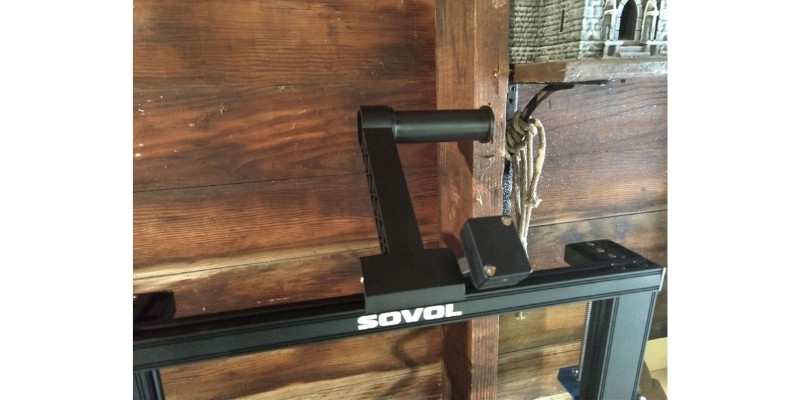
It has a couple of bolts on the back for tightening it into position. The instructions aren’t very clear on this, but what I came to find out is that the bolts allow the filament sensor to swivel. That way the filament can track back and forth with the movement of the extruder.
If you over-tighten these two bolts the filament can become snagged and cause your part to fail. Tighten them enough to attach it and then let it be.
After that, you just mount the touch screen and plug in all the wires.
Setup and Calibration
If you are new to 3D printing I can talk about bed leveling and you probably won’t shudder. Those of us that have been around for a while get goosebumps every time someone mentions it.
Leveling the bed on the Sovol SV01 Pro was so easy I found myself grinning like a child. It felt like I was cheating at a game.
It comes with a CR-touch pre-installed. You simply push the touchscreen leveling button and the printer takes a sample of the center of the build plate.
Then you grab a sheet of paper and lay it on the bed. You tap the area you want to check, the extruder moves there and then you use the large knobs on the bottom of the plate to bring it up to where the extruder just starts to compress the paper.
The instructions recommend that you do all four quadrants twice. You may feel it’s unnecessary, but don’t skip that step.
Once you’re done with that, the printer takes 16 even samples all over the bed and gives you a display of how flat the bed is. I cannot begin to overstate how amazing it felt to be given actual measured data on how flat I got it.
The only thing left is to load the filament into the extruder. It’s a direct drive so no messing around with bowden tubes or any of that goofy stuff. You just squeeze the compressor out of the way and push in the filament.
Also, make sure the drive belts are tightened up. Keep reading to learn more about this.
Test Prints
When you first launch a ship it is custom to break a bottle of champagne across the bow to ensure good luck.
When you first fire up a 3D printer it’s just as important to print a Benchy for the same reason. This tradition dates all the way back to the ancient and wondrous days of 3D printing yore, circa 2015.
I kid, but only a little. The Benchy is a great first print because it’s fairly small and fast and if there is something wrong with your printer it will tell you if you know how to listen.
This is my first Benchy off of the Sovol and, although it has some issues, it’s pretty great.
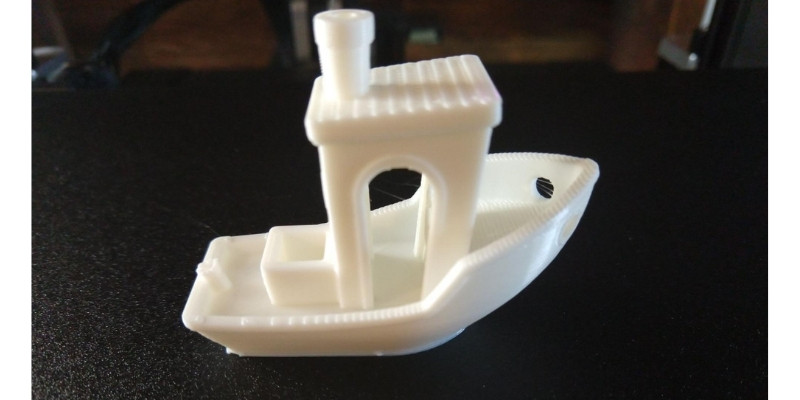
As you can see there is minimal stringing and good layer adhesion. This tells me there’s nothing wrong with the extruder.
But, looking the part over, I found that the corners were deformed in a way that suggested the X and Y axis were not working in perfect synchronization.
One of the great features of the Sovol SV01 is that it comes with manual belt tensioners. This allows you to keep the belts at the appropriate level of tension. When you strum a belt with your finger you want to hear it hum.
If you want your 3D printer to sing, you need to keep it tuned up. (I’ve mixed my metaphors but you get what I mean.)
What I found is that neither of the belts were very tight. I should have checked that when I set up the machine.
So I tightened the belts and started another benchy. The first test print was directly from Sovol’s provided SD card. I decided that if I was going to print another benchy I would slice it myself, to compare.
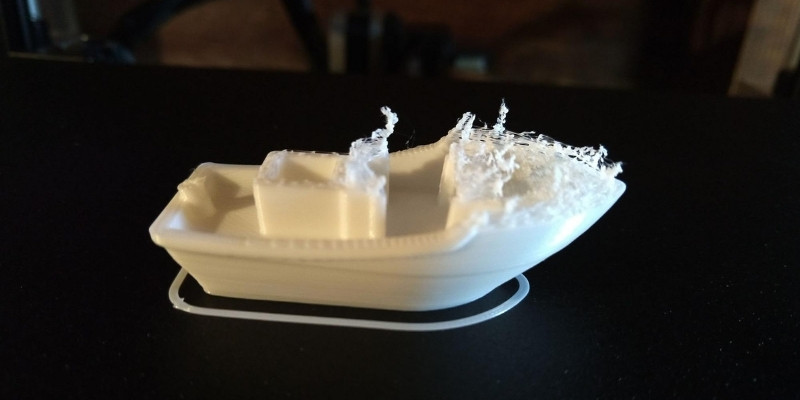
As you can see, it was not a success. If Benchy’s can talk this one is screaming “Oh, the humanity” or something along those lines. Remember earlier when I said I learned a valuable lesson about over-tightening the filament detector bolts?
This is the Benchy that gave its life to provide me with that intel.
At this point, I was starting to have reservations. Doggedly and with bated breath I pulled the trigger on yet another Benchy.
The third one turned out perfect and I literally “whooped” with joy when I saw it. It’s the best one I’ve ever printed.
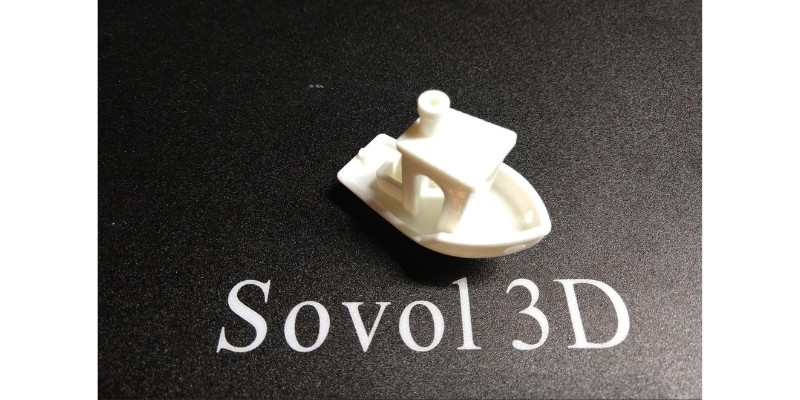
One last test print to check that everything was working as it should be.
Which turned out amazing.
At this point I decided to have some fun and see what this printer could do.
Precision
This printer had started to get my attention. I had no idea that it was about to blow my mind.
Regardless of your particular reason for wanting a 3D printer, its ability to precisely deliver the object you’re trying to print is of paramount importance.
I decided to do three tests to check for precision.
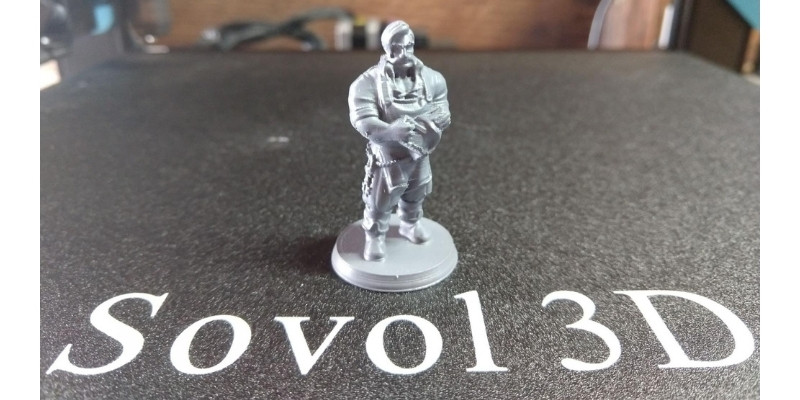
The first test was of a miniature like you would use for tabletop games. (Incidentally, this is what got me into 3D printing). I slowed the print speed down to 40mms and dropped the layer height to 0.1mm.
I could not be happier with the print. I sprayed a coat of gray primer on the mini so you can better see the finished results.
Next, I printed an articulated octopus that does double duty as a great test for layer adhesion and accuracy.
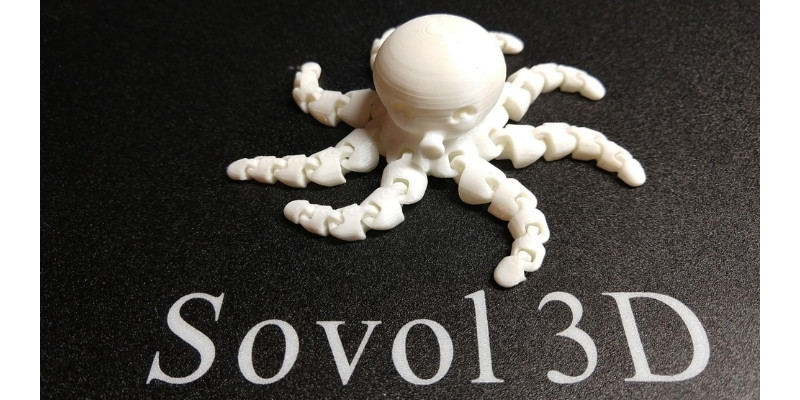
It worked perfectly. The legs easily separated after the print and moved freely.
The next test of precision was the one that I worried the most about. I’ve made, roughly, twenty of these little iris boxes and it’s always a roll of the dice on my other printer.
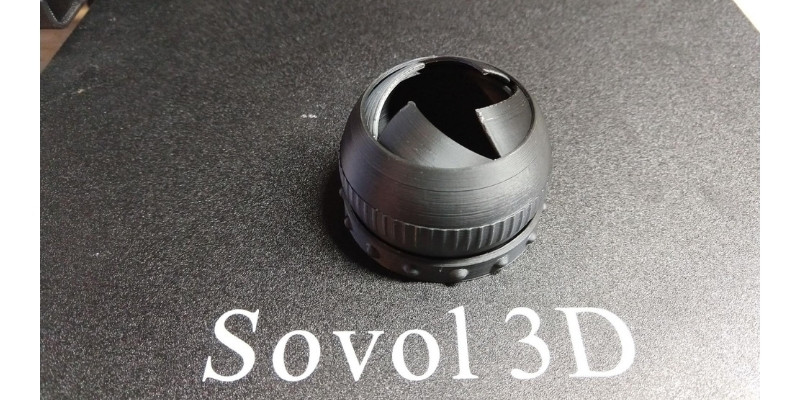
Again, it turned out great. So I made three more. They’re very popular with the kids.
Having satisfied myself with the Sovol’s accuracy it was time to move on to a larger project.
Build Volume
The working area of the Sovol SV01 Pro is 280mm x 240mm x 300mm (11in x 9.5in x 11.8in).
While that isn’t huge, it’s still pretty big and lands on the large side of medium. This machine can make some large prints, but wouldn’t be a good fit for someone looking to make, say, cosplay helmets or tall statuary prints.
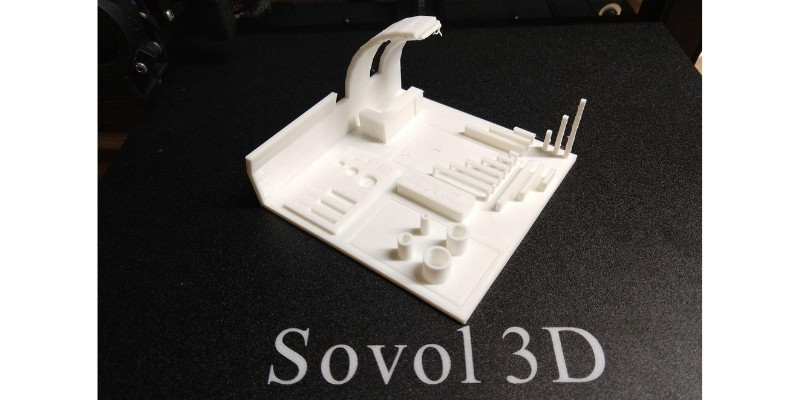
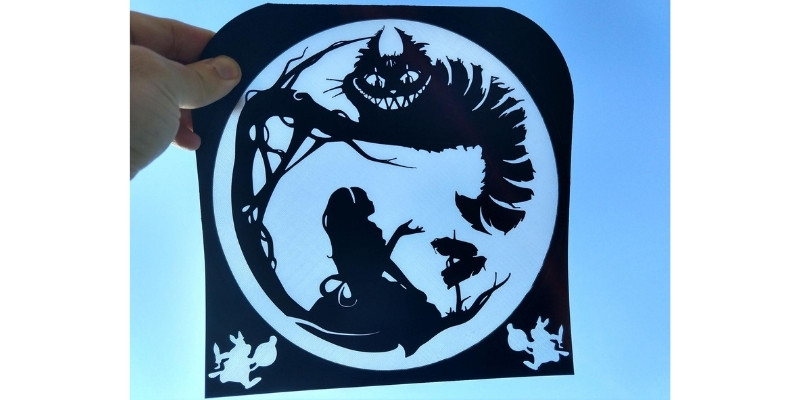
I wanted to make something for my daughter while also testing the build volume. Additionally, I also checked out how the Sovol handled a mid-print filament change. In a couple of words, very easily. Succinct, on-screen instructions lead you through making the switch.
I printed the background in a clear glow-in-the-dark PLA and the foreground in black.
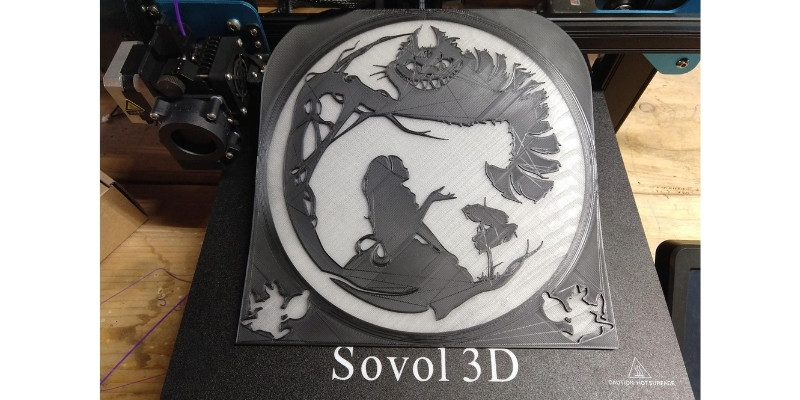
Another, hassle-free, success. She loves it, and I got a big hug.
Features
The Sovol SV01 Pro comes with some really good features built in. Many of them have become standard in 3D printers and for good reason.
Filament Sensor
This device detects if you’ve run out of filament. If that happens, the print is paused and you can simply load in some more filament to continue. It can be a real lifesaver.
CR-Touch Auto Bed Leveling
The CR-Touch is an automatic leveling tool that both detects the actual build plate height and helps you to level it. It also reports on how flat the plate is, after leveling.
Read more: the best auto-bed leveling 3D printers
Magnetic and Flexible Build Plate
An absolute must-have feature. I’ve ruined more parts than I care to relate, trying to pry them off of a glass or metal build plate. With this, the parts come off easily.
Direct Drive Extruder
Instead of having the extruder located somewhere else and then feeding the filament to the hot end by way of a bowden tube, this machine feeds the filament straight into the hot end.
Touch Screen Controller
I had thought that the touch screen was going to be a cheap gimmick. A parlor trick to convince you that the machine was on par with its sleeker competitors. I was wrong. It’s intuitive, useful, charming, and, honestly, pretty fun.
Material Compatibility
I have only tried PLA, so far, but the manufacturer lists that the Sovol SV01 Pro can print the following. I plan on trying all of them.
- PLA (including glow-in-the-dark PLA)
- TPU
- ABS
- PETG
- Wood
Noise Level
Here is where we run into my only real complaint. The printer is whisper quiet. The stepper motors make almost no sound. There are no annoying vibrations or ringing.
Then, after the first layer, the cooling fan on the extruder kicks on and it sounds like a miniature jet engine. I have no idea why Sovol would include the 32-bit silent motherboard upgrade and then entirely undo that feature with an excessively noisy fan.
Final Thoughts
This is what I feel may have happened. In some boardroom or lab or basement or wherever, a bunch of people got together and decided to design a 3D printer.
They then realized that all the heavy lifting had already been done, so the best thing they could do was combine all the accrued knowledge of their predecessors.
In my imaginings, they came at the task by asking themselves, “What are the worst parts of 3D printing?”
Someone raised their hand and said, “I hate when I can’t get the bed to level.”
CR-touch it is.
Another, “It’s awful when I accidentally run out of filament mid-print.”
The filament sensor was added.
And so it went. I hate when parts stick to the bed. Enter the flexible magnetic bed. I’d rather pull my hair out than feed another strand of filament through a bowden tube. Direct drive extruder it is.
In short, Sovol managed to take everything I dislike about 3D printing and either remove it or give me a better tool to surmount it. All that was left was the sheer joy of making stuff.
It’s a really good machine. And I don’t even care if the cooling fan is loud. When I watch it print, it just sounds like music to me.
Sovol SV01 Pro
Available at:
Specs
- Price: $329 — Available at Sovol 3D here / Amazon here
- Build Volume: 280 x 240 x 300 mm
- Build Plate Size: 300mm x 255mm
- Max Nozzle Temperature: 260°C
- Bed Temperature: 110°C
- Printer Connectivity: TF card, USB connection
- Layer Thickness: 0.1-0.4mm (Adjustable)
- Nozzle Diameter: Standard 0.4mm (Adjustable)
- Recommend Print Speed: 50-80mm/s
- Filament Compatibility: PLA, ABS, PETG, TPU, Wood filled filaments
- Extruder Type: Direct drive
- Screen Type: Touchscreen
- Auto-leveling: Yes, CR-Touch ABL system
- Features: filament sensor, day/night theme, flexible build plate, dual z-axis, 32-bit motherboard
- Material Diameter: 1.75mm
- Support File Format: G-code
- Machine Size: 520mm x 509mm x 647mm
- Machine Weight: 9.8kg
- Package Size: 569mm x 559mm x 231mm
- Package Weight: 12.9kg
- Voltage: input 115v/230v50/6Hz Output 24v
- Operation System: Windows/Mac/Linux
- Power: 350W Creality Power Supply
Related posts: