PETG Not Sticking to Bed: How To Fix Every Issue (2023)
At 3DSourced we’ve covered everything 3D printing and 3D since 2017. Our team has interviewed the most innovative 3D printing experts, tested and reviewed more than 20 of the most popular 3D printers and 3D scanners to give our honest recommendations, and written more than 500 3D printing guides over the last 5 years.
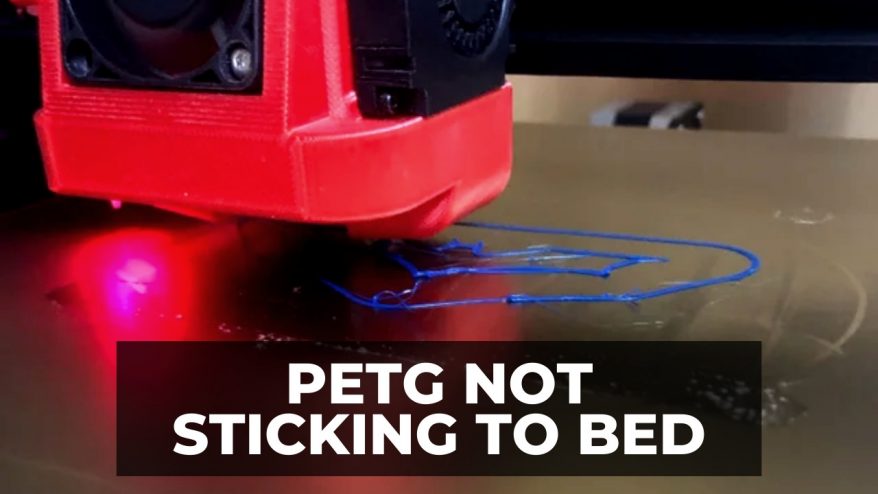
PETG’s high tensile strength and general resistance makes it a very popular 3D printing filament. However, while a naturally strong adhesive, a common problem with this tough and versatile filament is that PETG does not stick to the print bed as well as it should.
Why PETG doesn’t stick to the bed could be due to a variety of reasons, each of which we’ll cover here along with how to fix them.
Why Does PETG Not Stick to the Print Bed?
There are a few reasons why PETG doesn’t stick to the print bed, the key ones being:
Table Of Contents
- Why Does PETG Not Stick to the Print Bed?
- Wrong Nozzle or Nozzle Temperature Settings
- Wrong Print Settings
- Dirty Print Surface
- Uneven or Improperly Leveled Print Bed
- Wet Filament
- Wrong Bed Surface
- How Can I Improve PETG Bed Adhesion?
- How to Stop My PETG from Lifting
- How to Fix PETG Not Sticking to the Printer Bed on Ender 3 or Ender 3 V2?
- How to Fix PETG Not Sticking to the Printer Bed on my Prusa Printer?
- PETG Not Sticking to PEI
- PETG Not Sticking to Glass Bed
- How to Fix Overture PETG Not Sticking to the Printer Bed
Wrong Nozzle or Nozzle Temperature Settings
PETG is a non-abrasive filament, though it requires very high temperatures to print.
Because of this, worn-out nozzles will have trouble dealing with the temperature, and your PETG adhesion will suffer as a result.
In addition, hotter filaments tend to have better bed adhesion, and PETG needs hotter temperatures on average to print reliably. If you’re using a lower temperature than the recommended 220-250℃, you may find that PETG sticks to the nozzle itself or not adhere to the print bed on the first layer as it should.
How to Fix
Sticking to an all-metal (brass, steel or stronger) nozzle of 0.4mm is the best way to maximize first layer PETG bed adhesion. This is because it is quite thick, and smaller nozzles will clog or unreliably print more often.
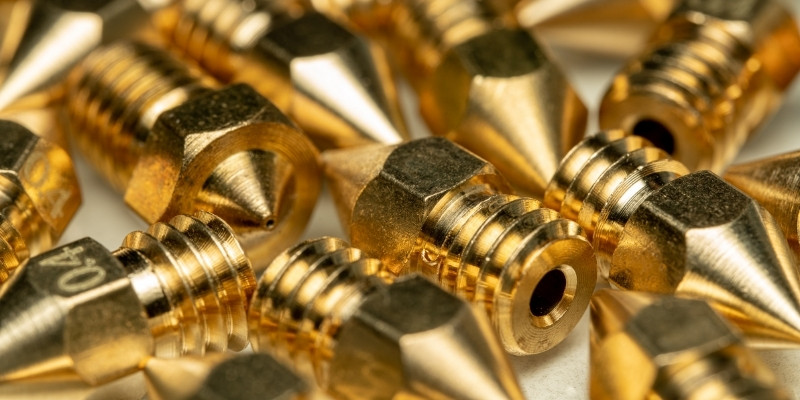
Generally speaking, the sturdier the nozzle, the better the print.
If you do have your nozzle set to less than 220-230℃ and your PETG won’t stick to the bed, then try simply increasing the temperature. PETG will print well at temperatures up to around 260℃, so don’t be afraid to turn up the nozzle temperature to see if it helps.
Wrong Print Settings
A common reason for poor PETG bed adhesion is incorrect or less-than-ideal printer settings.
While recommended printer settings for PETG are similar to those for PLA, the key difference is that PETG won’t stick to the bed if its first layer cools down too quickly.
Print speed is also a factor. If your print speed is set too high, then the PETG won’t have enough nozzle contact to properly print, and will still be too hard to stick to the print bed.
As with other filaments, nozzle height is very important, as is bed leveling. If either of these are askew, then your PETG won’t adhere properly throughout the project and your finished result will look warped and stringy.
How to Fix
Avoid Rapid Cooling
If you use a cooling fan, it’s best to keep it off during the initial layering of your PETG print at the very least.
If you need your print to cool faster, then switching the fan on later in the print is fine, though be sure to use a lower setting (around 1/3 of the max) as fast cooling even after initial adhesion will still risk your PETG warping.
In general, fast cooling isn’t necessary at all with PETG, so it’s okay to leave the fan off throughout printing if you prefer reliability over speed.
Lower Print Speeds for Better Results
As well as this, reducing the print speed to around 15mm/s for the first few layers will help PETG adhesion. This speed can be increased gradually as you print, but the first layers should be done as slowly as possible so the PETG sets well.
Use Good Nozzle Spacing
The recommended nozzle height for PETG is 0.1mm, which can be measured with a piece of paper. This is also a good way to manually test your bed leveling as we will discuss later.
Employ Brims and Rafts
Brims are additional layers to a print that use more filament but help stick it to the build surface by adding more width. Rafts are an extra layer directly on the bottom of your print that adheres first and gives your project a pre-heated platform of the same material to print on.
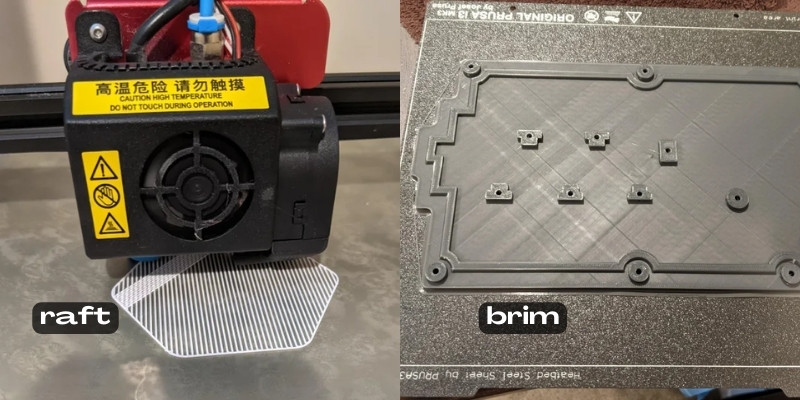
Both of these options are good remedies for helping PETG stick to the print bed and can be accessed through your slicing software. For more information on what brims and rafts are, and how they can help with PETG bed adhesion, you can check out our article on brims and rafts.
Dirty Print Surface
Much like how Blu Tack will not stick well if there’s leftover paper on its surface, debris and dust on a bed plate will hinder or even halt filament adhesion.
If you find that it’s not just PETG that isn’t sticking well, then the cause may be a dirty print surface.
How to Fix
The ideal cleaning method will depend on both what kind of surface you use and what kind of debris is on it.
Generally, you’ll need to use Isopropyl Alcohol (IPA) of at least 70% concentration to thoroughly clean any leftover oils, applied in a well-ventilated area with a soft wiping material like a microfiber cloth.
If you use a polyetherimide (PEI) bed, using a microfiber cloth or other soft wiping tool is the best way to clean the build surface without damaging it. For PEI surfaces, you should use acetone or propanone to more easily remove dropped and stuck-on filaments and residue.
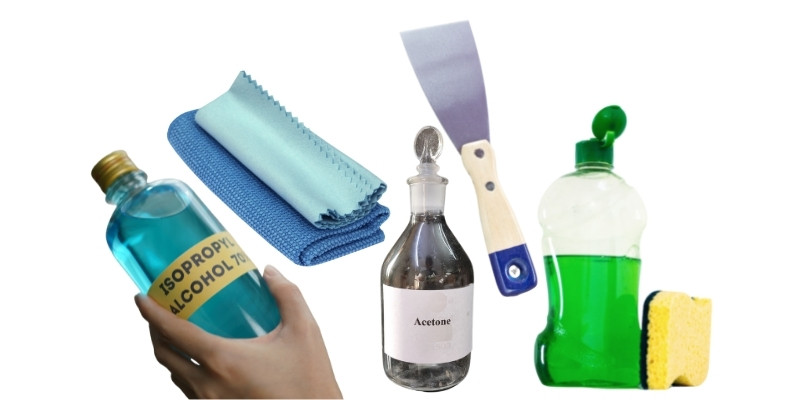
For a glass bed, you can use a rougher material like a sponge scrubber because of the tougher surface, as well as a scraper or spatula for leftover filament. If you don’t have access to IPA, you can turn to your regular dish soap for general cleaning of glass surfaces.
For cleaning adhesive tape beds, you’ll need to use a spatula or scraper to remove any debris that have more adherently stuck to the print surface before wiping them down with IPA using a soft fabric cloth or towel.
Uneven or Improperly Leveled Print Bed
Bed leveling is imperative to successful prints and bed adhesion regardless of the filament you’re using.
Uneven beds will mean initial layers won’t match up, and that will cause both poor sticking and even print warping. If the bed is uneven or improperly leveled, then the nozzle will be too close to the print bed in some places and too far away in others.
Because of this, getting bed leveling just right is the key to successful bed adhesion and reliable prints.
Running a simple test print is a good way to check that your print bed is properly leveled and even. If the print is coming out with a stringy look, the nozzle is too close. If it comes out disjointed with unwanted gaps and wasted filament spilling over, then it’s too far away.
How to Fix
If you don’t have a printer equipped with automatic bed leveling, then you’ll have to do it manually. Fortunately, this is a relatively simple process requiring only a piece of paper and a keen eye.
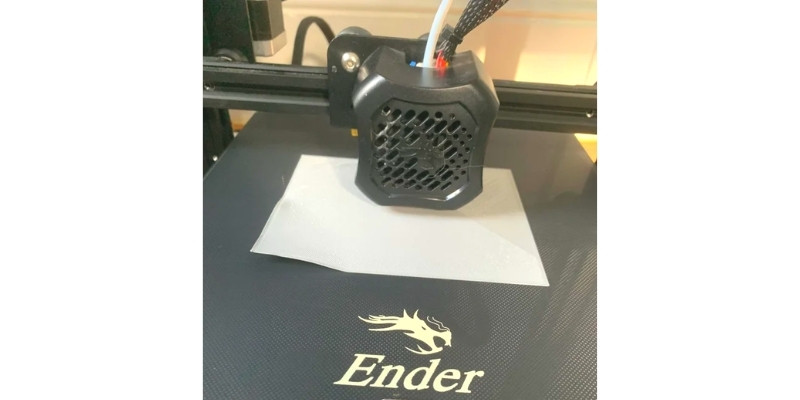
If you’re sure the print bed is both clean and cold, then simply set your nozzle to its neutral position, with the X, Y, and Z axes all set to 0. After you’ve disabled your stepper motor, you can then freely move the nozzle around. Be sure not to do so too quickly, however, so as not to damage it.
Using the paper to measure the nozzle height of 0.1mm, carefully move the nozzle to each corner of the bed, being sure not to raise or lower it, and check that all four offer the same distance between the nozzle and the paper.
If you look carefully enough, then you’ll notice if any of the corners are a different distance. If this is the case, use the dials on your 3D printer to level the bed until all four corners are of equal distance between the paper and the nozzle.
For further reliability, it’s best to check each corner twice once you think you’ve got your print bed nice and even.
If you’d prefer to have your bed level automatically but don’t have such a feature built in, you can always buy an automatic leveling kit for your 3D printer. Each brand will have its own 3D leveling kit as upgrades, and they don’t often cost more than $50.
Auto-leveling 3D printers aren’t as expensive as they once were, and you can get one now from around $300.
Wet Filament
Wet filament will print poorly, have a higher chance of clogging, and won’t stick to the print bed well if at all.
Like many 3D printer filaments, PETG is hygroscopic, meaning it absorbs moisture over time, and so the reason your PETG isn’t sticking to the bed could simply be because it’s too wet.
How to Fix
Properly storing your PETG will help protect it from absorbing airborne moisture, but if you feel it has already become too wet to properly print, you can always use a filament dryer like the PrintDry Pro to get the moisture out and breathe new life into your filament.
Failing that, an oven or food dehydrator set to 80℃ will perfectly dry out your PETG in around six hours.
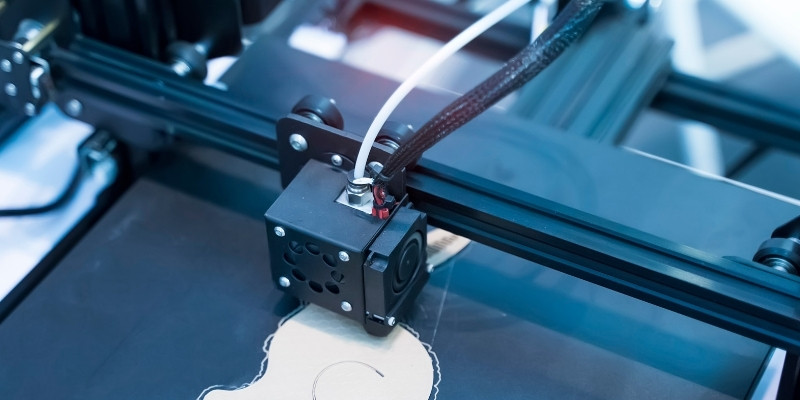
Wrong Bed Surface
Not all bed surfaces are ideal for all kinds of filament. If you’re using a bed surface that’s not fully equipped for the temperature and texture of PETG, then it won’t stick to the surface as well as it should.
If you’ve got the right settings and are sure your bed is level and clean, and your filament is dry and ready to print, then the problem with PETG not sticking could be because you’re using the wrong bed surface.
How to Fix
While PETG and PLA share similar recommended print beds, PETG also needs a higher temperature to ensure adhesion, meaning you’ll want a clean print bed that can reliably heat up to at least 70℃.
Because of this, we recommend not using adhesive tape if it can be avoided, as it’s more likely to wear out with the kind of temperatures required for PETG.
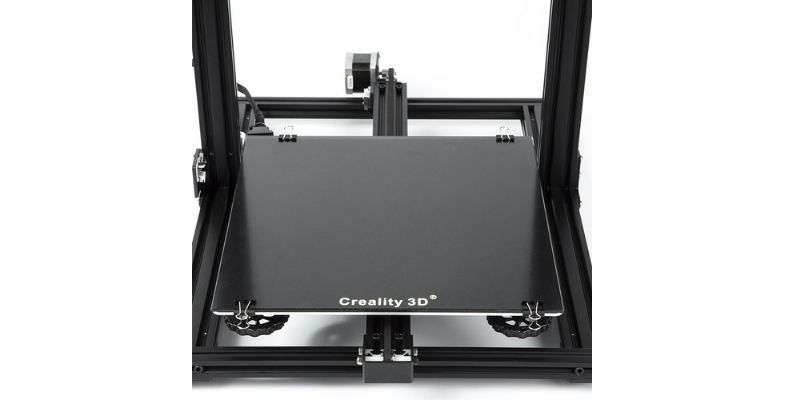
PEI will work well with most filaments, but the best results when using PETG come from a carefully cleaned glass print bed heated to a minimum of 65-70℃.
How Can I Improve PETG Bed Adhesion?
As a general rule, you should start off with the lowest recommended printer settings when using PETG, and gradually increase them as the print goes on. These ideal settings are:
- Print Speed: 15mm/s (first layer) – 60mm/s
- Nozzle Temperature: 220 – 270℃
- Bed Temperature: 65 – 90℃
- Nozzle Height: 0.1mm
- Fan Cooling: None at first, then slowly up to around 30% capacity max
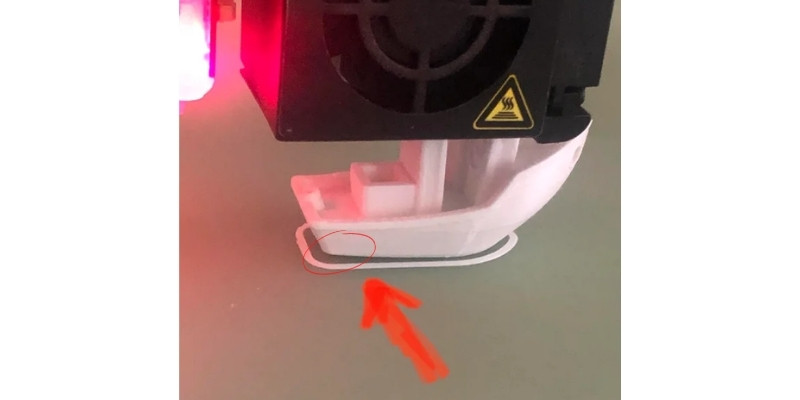
How to Stop My PETG from Lifting
Poor bed adhesion will lead to your PETG lifting from the build surface. To avoid this, simply stick to the settings above and follow the advice below:
- Ensure You’re Using an Appropriate Nozzle – Brass or stronger nozzles of 0.4mm are ideal for PETG.
- Keep Your Build Surface Clean and Dry – Dusty, oily, or dirty build surfaces will hinder bed adhesion.
- Ensure Your Bed is Properly Leveled – An uneven print bed will decrease bed adhesion and reliability while increasing the risk of warped or failed prints.
- Keep Your Filament Dry – Wet filament will have poorer print quality and bed adhesion. Always store your filaments correctly and use a filament dryer, oven, or food dehydrator to make sure they’re free of moisture.
- Use an Ideal Print Surface – PEI will work, but a heated glass bed is recommended. Failing that, a textured build surface will help greatly with PETG bed adhesion and prevent lifting.
- Use an Additional Adhesive – Glue or specialty adhesives will help stop your PETG from lifting. Even simply spraying your print bed with hairspray before printing will aid in keeping your filament stuck to the build surface while printing.
- Print Slow – Slower print speeds, especially for the initial layers, will make your prints more reliable and increase the chances of good bed adhesion.
- Add a Brim or Raft – Adding a brim through your slicer software will tell your printer to add an extra layer to the outside of your print, helping adhere it to the bed. A raft gives your project an extra layer to print on made of already heated PETG to aid with adhesion.
How to Fix PETG Not Sticking to the Printer Bed on Ender 3 or Ender 3 V2?
A common problem with the Creality Ender 3 and Ender 3 V2 is their poor bed adhesion for PETG. This is largely due to the Ender 3’s recommended settings being too low for the harder plastics. Most likely, simply tweaking your settings should lead to better results.
Keeping your printing temperature at around 245℃ with a nozzle height of no more than 0.2mm have the best results. Keeping your cooling off entirely is also recommended with the Ender 3 to avoid fast cooling preventing adhesion.
How to Fix PETG Not Sticking to the Printer Bed on my Prusa Printer?
Most issues with PETG adhesion with Prusa printers seem to be the result of unclean or unfit bed surfaces. Using the settings we’ve outlined above, you should find that PETG sticks much better with a replacement build surface, preferably a glass or textured one.
PETG Not Sticking to PEI
The most common reason PETG fails to stick to PEI is that it the surface itself is dirty. Using acetone to remove any stuck leftover filament before wiping it down with IPA and a microfiber (or similarly soft) cloth will get the surface clean and ready to use.
If the PETG still down’s stick, then you may need to replace your PEI build surface or upgrade it to a more suitable, textured alternative. It’s also a good idea to use extra adhesives like glue or hairspray to help with adhesion.
PETG Not Sticking to Glass Bed
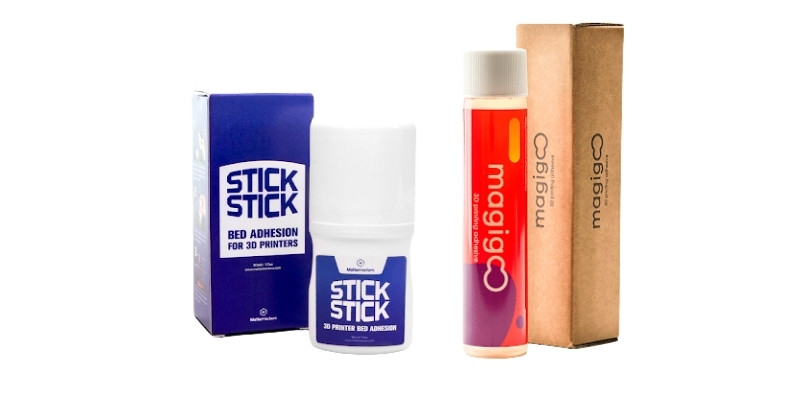
If you find your PETG is still not sticking to a glass bed, you can also use additional adhesives such as the ones below to help with bed adhesion.
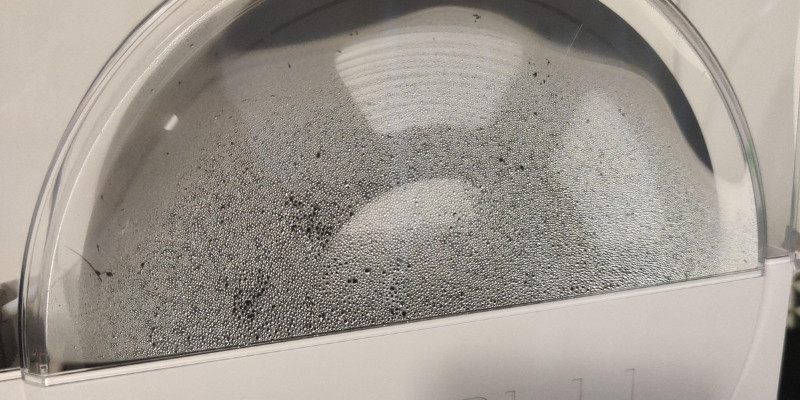
Failing that, there are also specialty build surfaces that PETG sticks to very well. These specialty surfaces are normally textured to help with adhesion like:
- BuildTak Original Surface
- Zeflix textured PEI
- Creality’s powdered build surface.
How to Fix Overture PETG Not Sticking to the Printer Bed
Overture PETG has been known to be less adherent to print beds than many other brands. To help with this, many customers have found that using glue sticks or professional adhesives help immensely.
On top of this, it’s a good idea to keep your printing speed at no more than 30mm/s and keeping the printing temperature above 245℃, all while avoiding using any kind of rapid cooling system.
Related Articles:
- PETG Filament 3D Printing Guide
- How to fix PETG stringing
- Best Glue For PETG 3D Prints
- 3D Print Not Sticking To Bed: All 11 Problems Fixed
- PLA Not Sticking To Bed — How To Fix in 3D Printing
- Best Filament Dryers & Dry Boxes
- Best Affordable Auto Leveling 3D Printers
- Ender 3 Print Speed: Best Speed Settings for Ender 3 V2 & Pro