How To Design and 3D Print Miniatures (Complete 2023 Guide)
At 3DSourced we’ve covered everything 3D printing and 3D since 2017. Our team has interviewed the most innovative 3D printing experts, tested and reviewed more than 20 of the most popular 3D printers and 3D scanners to give our honest recommendations, and written more than 500 3D printing guides over the last 5 years.
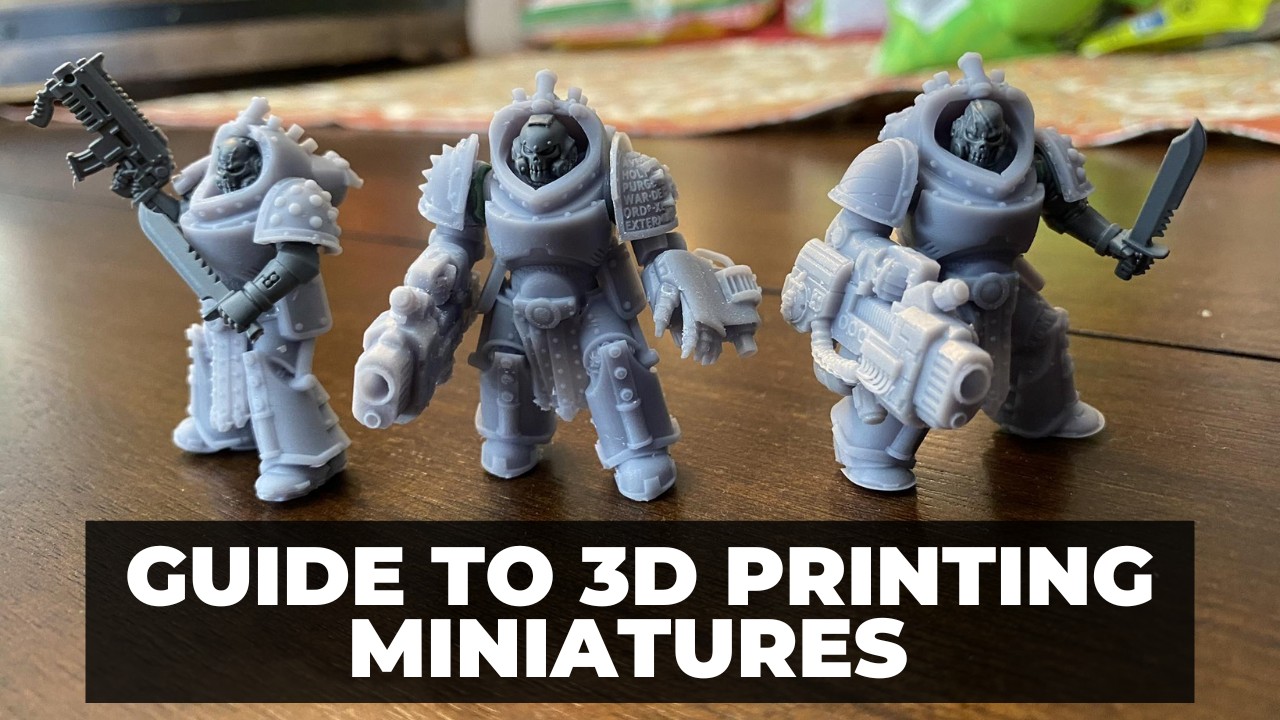
3D printing is often cited as a hobby for hobbyists, a tool to supplement and fuel other interests. Among the most popular is tabletop and wargaming, specifically the printing of miniatures whether that’s for Warhammer, Dungeon & Dragons, or other popular tabletop games.
The appeal is clear: 3D printed miniatures are considerably cheaper than manufactured, store-bought models; you can design and customize them to your liking; and, thanks to some major advancements in 3D printing and an ever lower cost to entry, it’s arguably never been easier to print minis from home.
If you’re reading this, it’s likely you already own a printer or are considering buying for the purpose of 3D printing miniatures, and may be wondering how exactly to start designing and printing your own miniatures? Is it worth it? What will you need?
With this guide, our aim is to give you all the information and details to set you up for successful miniature printing. We have tips and tricks, explain how to design and print miniatures, and give you a breakdown of everything you need to start printing quality minis.

Can You 3D Print Miniatures?
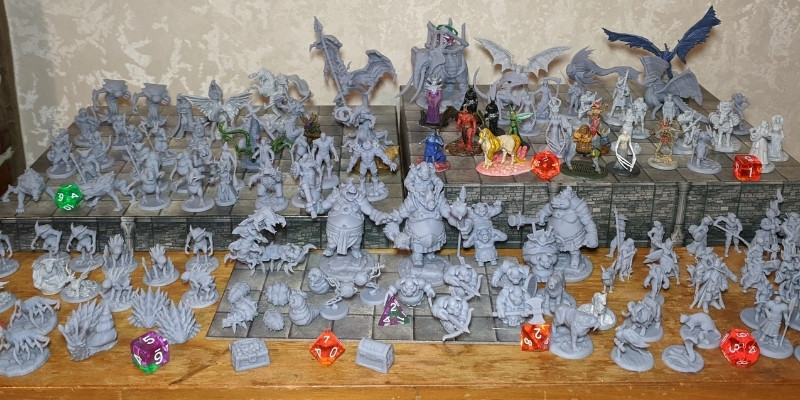
Yes, printing miniatures is one of the most popular applications among 3D printer owners, along with household items, toys, and tools as the most common prints 3D printed by hobbyists. Thanks to advances in the technology powering 3D printers, the quality of miniatures is fast approaching that of traditional methods like injection molding.
What Is 3D Printing Miniatures?
Put simply, 3D printing miniatures is the creation of miniatures using a 3D printer. This is possible using either a resin or FDM printer, though resin printers are better as they are better at producing highly-detailed and feature-rich prints – more on this later on.
To 3D print a miniature, you’ll first need an STL file of the model. You can do this by either designing one yourself using design and CAD software, or download one from depository sites like Thingiverse.
Note: higher quality miniature files tend to cost money to compensate the designers for their work, so expect to pay if you want the best STL files out there.
In many cases, it’s now difficult to set a 3D printed and a store-bought mini apart thanks to the level of detail and quality of the finish capable on 3D printers.
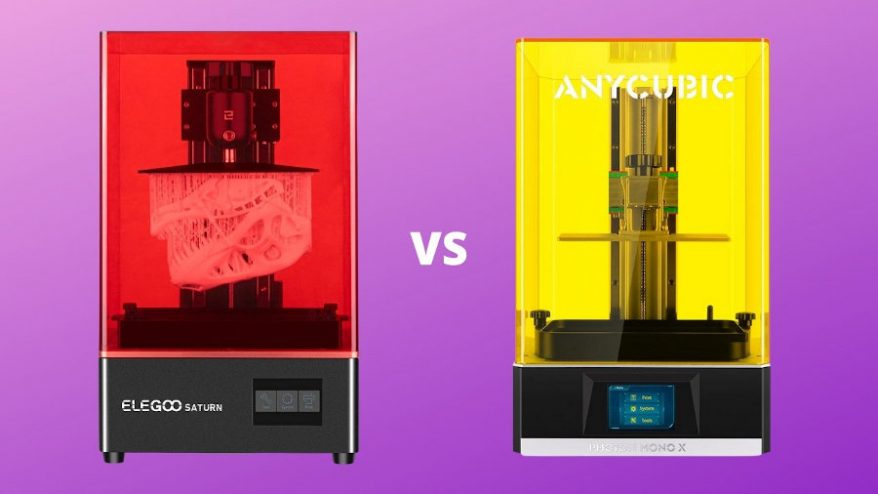
Resin vs FDM For Miniatures

You’ll get very different results printing miniatures on resin and FDM 3D printers. I use a resin 3D printer for miniatures, but use FDM printers for models like terrain and accessories to complement miniatures.
FDM printing is generally cheaper, but can’t reach the precision and quality you’ll get from resin printers.
Resin printers cure layers at much higher resolutions, allowing features and details to print much more accurately. The downside is that resin printing can be very messy and requires post-processing – cleaning and curing – before a print is finished and ready to be handled and painted.
We also have a more detailed dive into printing miniatures on an FDM printer, as well as the differences between 3D printing miniatures via resin vs FDM printers. With our tips, you’ll be able to print good quality miniatures that will more than suffice for your weekly tabletop gaming session.
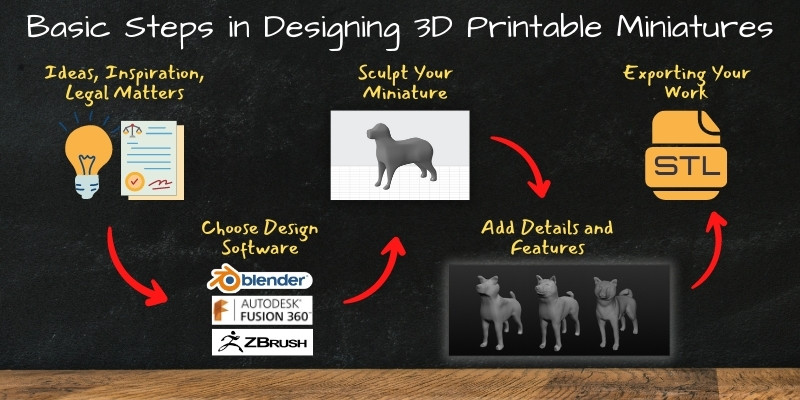
How to Design 3D Printable Miniatures
As above, you can download a free or paid model to print a miniature, but the real magic happens when you design your own. Though diving into the step-by-step details of creating one in design software requires an article of its own, here are some basic steps to keep in mind.
Ideas, Inspiration, and Legal Considerations
Before starting the design process it’s worth having a clear idea of the character or unit, and ideally a pen and paper sketch.
Doing this keeps you focused and streamlines the design process as you won’t be tempted to veer off the course or abandon a design halfway through. One added benefit of this is that you can scan and import a rough sketch into design software to help with the overall shape and proportions of the mini.
Whatever your design, it’s worth checking if it has any IP, trademark, or copyright attached, especially if it’s inspired by a major franchise. This is especially relevant if you plan on selling the minis you print, as infringing on copyright can come with major legal consequences and hefty fines. For this reason, it’s always best to make custom miniatures.
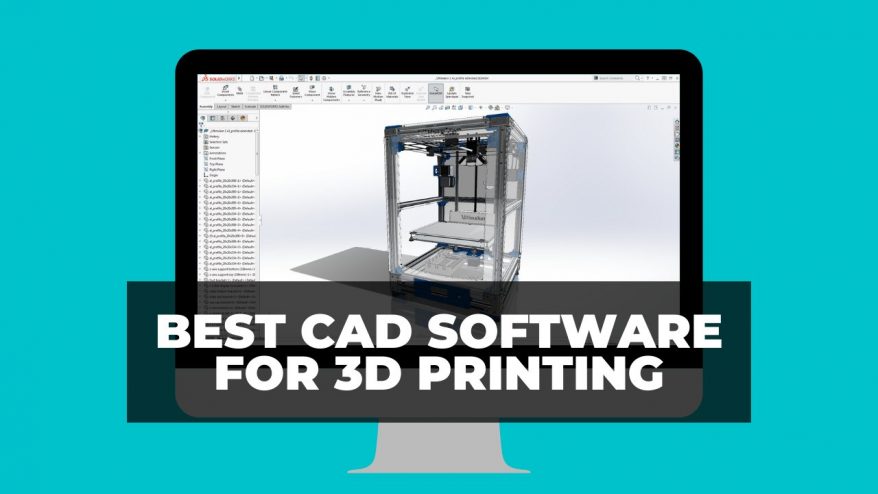
Design Software
The next step is to pick and choose the software you’re going to use to design your printable miniature. We recommend Blender, Fusion360, Sculptris, or ZBrush.
For more insight into what each program offers, check out our guide to the best free 3D modeling software available.
Sculpting Your Miniature
Now comes the fun part, but also the most time consuming. Using large geometrical shapes, you’ll want to create rough, blocky outlines for each part of your model, sticking to the dimensions of the sketch you imported.
From there, you’ll want to refine and chisel down the blocks progressively to shape your miniature, adjusting the angle and positioning of each block as needed to match gestures, limb position, and so on.
Details and Features

Once you’re satisfied with the overall shape of your miniature, it’s time to add in details and features. At this point, we recommend sculpting programs like Sculptris.
There’s no clear cut path here, it’s a case of working in descending order of size – large details down to small intricate features. After this is done, you can also add in extras like accessories, weaponry, or a base to improve the miniature, following the same steps as above.
Exporting
Once you’ve finished with the last touches, it’s time to export your model. For the sake of ease, we recommend exporting in STL format, which allows you to easily import the model into a slicer to prepare it for 3D printing.
What Do You Need to 3D Print Miniatures?
- STL file of the miniature you want to print. Either for free from a depository site like Thingiverse, a paid model from sites like Patreon, MyMiniFactory or CGTrader, or one you’ve designed from scratch yourself.
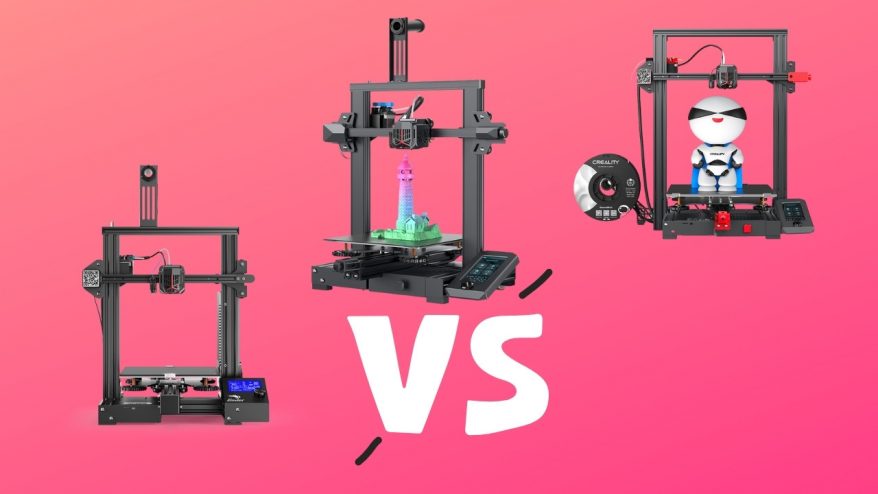
- A 3D printer. Ideally, you’ll want to use a resin SLA printer rather than an FDM 3D printer. As above, resin printers perform miles better when printing highly-detailed models.
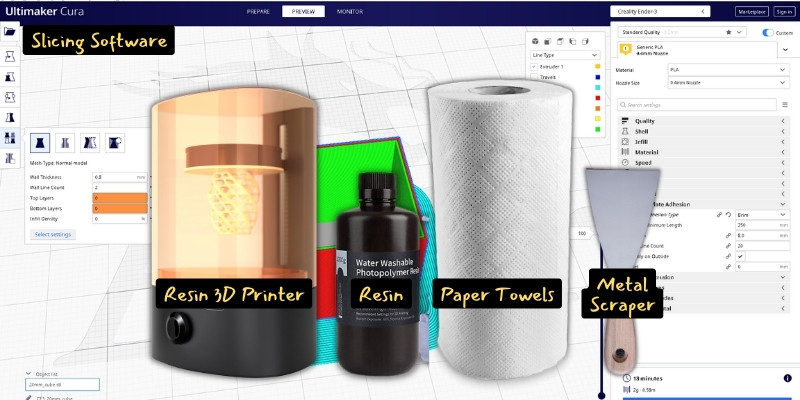
- Slicing software – Cura for FDM prints and Lychee for resin prints are both solid recommendations. You may also want to test out the proprietary slicing software that came with your printer.
- Printing materials – filament for FDM printers (PLA is a popular option for miniatures) or liquid resin for SLA printers.
- A clear workspace. Resin printing in particular is a messy business and it’s important to not have obstructions that can cause spills.
- A metal scraper for removing finished prints from the build surface.
- Paper towels. More is always better.
- A wash and cure station for post-processing. Alternatively, you can do this manually – isopropyl alcohol, brush, and plastic containers for cleaning, and exposure to direct sunlight for curing. Check out our dedicated guide to washing and curing resin prints for all the details.
- Optional – different grit sandpaper for post-processing. Primer and paints if you plan on painting the miniature.
How To 3D Print Miniatures
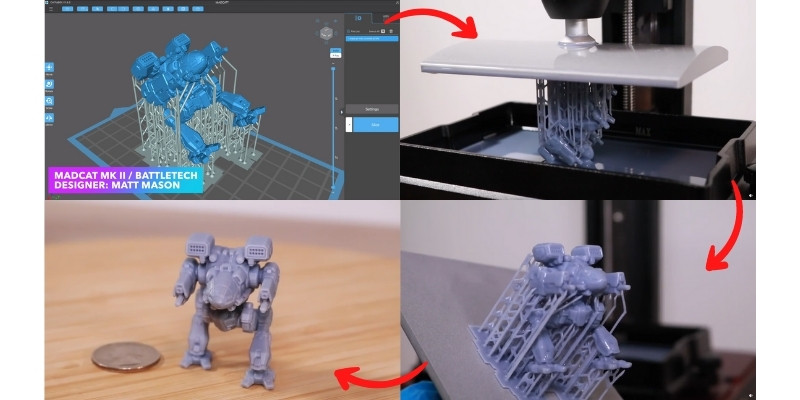
- Load your STL file into your slicing software. If you have multiple versions, check if there’s one with supports/holes as these simplifies the slicing process.
- Rotate the model to 45° with the surface with the least details facing towards the build plate.
- Adjust the size as needed, remembering that larger miniatures take longer to print.
- Use the support generation tool to add supports to your model. Manually adjust these/add more where needed to ensure the print is supported but also that important features aren’t in contact with too many supports. This will help when it comes to polishing up your prints during post-processing.
- Hollow out your model to save resin and add drainage holes so that excess resin can run out of the print. If you’re working with very small minis, skip hollowing to boost the structural integrity of the model and to avoid failed prints
- Go to the slicing section of the software and dial in settings. We recommend a 0.050 mm layer thickness, 3 second exposure time, 40 second initial/bottom exposure time, and bottom layer count of 3-5 layers. These may vary depending on the specifications of your printer, but represent a solid base for printing high quality miniatures.
- Slice your print, export it to a USB stick/SD card, and load it onto your printer.
- Fill the tank with resin – how much depends on the size of the print. We recommend aiming for roughly four times as much resin as you’ll need for the print itself.
- Replace the lid and start the print. Printing can take anywhere from an hour to beyond eight hours depending on the size and complexity of the model.
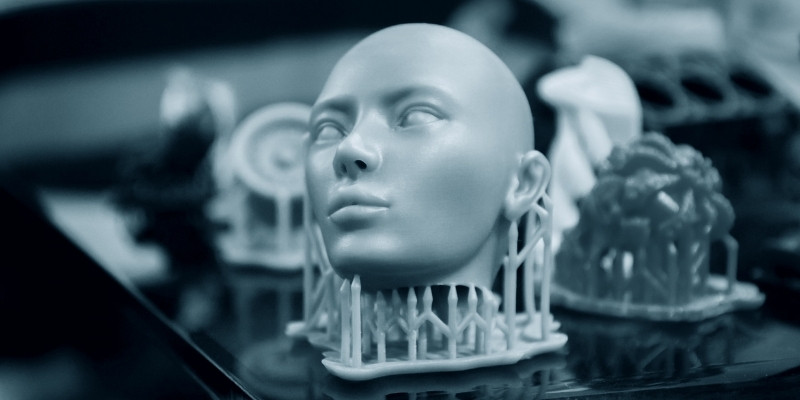
- Once the print is finished, clean the model, remove supports, and cure the miniature.
Tips and Tricks for 3D Printing Miniatures
- If a model comes with a version with supports and pre-set holes, use that one. Designers will have taken the time to place supports in areas that not only support the model adequately, but also avoid blemishing the miniatures for detailed parts.
- Resin printers are for highly detailed miniatures; FDM printers are for larger terrain, scenery, buildings, and accessories where you can sacrifice a bit of detail for faster print times and a cheaper overall print. If in doubt go for a resin printer.
- If you want the best quality miniatures, invest in a decent quality resin. Low cost resins are a thrifty option, but paying a bit more for a premium resin can really elevate the overall finish of your miniatures.
- Time = quality, so don’t hesitate to lower the layer height (0.050 mm and below) if you want the best results.
- Remember that the film on a resin printer is a consumable. If your resin printer has done the rounds and prints are looking a little tired, consider installing a factory-fresh film.
- Follow manufacturing recommendations when curing prints. Though it takes some doing to overcure print, doing so can leave them brittle and extremely fragile.
- If your budget allows it, invest in a wash and cure station – these machines greatly simplify post-processing and make it easier to contain the mess that comes hand in hand with resin printing.
- Always wear nitrile gloves when handling liquid resin and uncured resin miniatures. Eyewear is also highly recommended. Safety first. Also, always print in a well ventilated area as resin fumes can irritate the lungs.
- Accept that failed prints are part of the experience. The cause may be improper supports, poor orientation and angling, dirty resin, or the print may fail due to no apparent reason. This comes with the territory so expect some trial and error on your way to printing miniatures.
How Long Does it Take To 3D Print a Miniature?
Print times of a 3D printed miniatures depend on several factors – the size of the model, the type of printer, the amount of supports, and the settings chosen when slicing a model. For a standard 28 mm miniature, you can expect a print time of anywhere from 2 to 4 hours. For larger miniatures and figurines, print times can easily exceed 6-8 hours.
Can 3D Printers Make Miniatures?
Yes, 3D printers can make miniatures. Miniatures are among the most popular applications for hobbyist resin printers, whose high resolution and capacity to render detail make them ideal for parts with a lot of features and intricacies. If printed properly, 3D printed miniatures are more or less indistinguishable from manufactured, store-bought miniatures from big companies like Games Workshop.
Can 3D Printers Print Figurines?
Yes, 3D printers can print figurines with lots of detail, a smooth finish, and rich features. Along with miniatures, figurines are a very popular project among hobbyist makers, especially those with resin printers. Due to the limited print volume of resin printers, there’s a cap on the size of the figurine, but these machines can easily handle small to mid-sized figurines.
Related articles:
- Best Resins for Miniatures
- [Full Guide] FDM 3D Printing Miniatures: Settings, Orientation & Others
- Highly Recommended Filaments For 3D Printing Miniatures (PLA & More)
- [Full Guide] Can You Make Money Selling 3D Printed Miniatures?
- How Long Does 1L or 500ml Resin Last? What Does Our Calculation Show?
- How Much Can You Print Out of 1KG Filament? We Did The Math!
- 3D Printing Miniatures: Resin vs FDM, Which Gives The Best Result?
- UV Lights for Curing Resin: Best Curing Stations & Flashlights
- How to Clean and Cure 3D Resin Prints